
I was standing in my guest bedroom last Saturday, staring at a streaky, uneven mess that looked more like a watercolor disaster than a professional finish, and I realized something: most people make the mistake of thinking the “painting” part is the actual job. They rush straight for the expensive cans of pigment, ignoring the fact that if you don’t master the prep, you’re just decorating a failure. If you’re looking for a quick hack on how to paint a room to hide old imperfections, you’re going to be disappointed, because the truth is that the work happens long before the brush ever touches the drywall.
I’m not here to sell you on some “miracle” roller or a designer color palette that will look dated by next season. Instead, I want to walk you through a systematic approach that focuses on the fundamentals—the sanding, the taping, and the proper layering—that ensure your walls look clean and stay durable. We’re going to strip away the fluff and focus on the practical steps that actually result in a finish you’ll be proud of for years.
Guide Overview
Tools & Supplies
- Paint roller and tray for applying large areas
- Angled sash brush for cutting in edges
- Painter's tape for protecting trim and ceilings
- Drop cloths to protect flooring
- Interior paint (1-2 gallons depending on room size)
- Painter's tape (1-2 rolls)
- Sandpaper (medium grit for smoothing walls)
- Spackle (small container for filling holes)
Step-by-Step Instructions
- 1. First, you need to clear the deck. I’ve seen people try to paint around furniture and it’s a recipe for a headache. Move everything to the center of the room and cover it with heavy-duty plastic drop cloths. Don’t bother with those thin, filmy ones that tear if you look at them wrong; get the thick stuff. Also, pull the outlet covers off and set them aside. It’s a small step, but it’s the difference between a professional finish and a job that looks like a high school art project.
- 2. Next, we deal with the walls themselves. This is where most people cut corners, and it’s exactly where they shouldn’t. Take a damp cloth and wipe down the baseboards and walls to get rid of dust and cobwebs. If you have any holes from old nails or dents in the drywall, hit them with some spackle. Once that’s dry, sand it smooth with a fine-grit sanding sponge. If you skip this, you’ll end up with bumps that show up even more once the new paint hits the light.
- 3. Now, grab your painter’s tape. This isn’t the time to be lazy. Apply it along the baseboards, the ceiling edge, and any trim where you don’t want color bleeding. I find that running a putty knife or your fingernail along the edge of the tape helps create a tight seal. If the tape isn’t seated properly, the paint will wick underneath it, and you’ll spend your entire weekend trying to scrape dried drips off your trim.
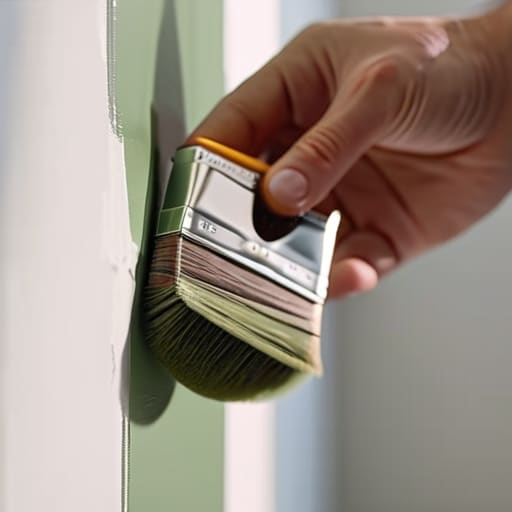
- 4. Before you touch a roller, you have to “cut in.” This means using a 2.5-inch angled sash brush to paint the perimeter of the room—the corners, the edges against the ceiling, and around the door frames. Most people hate this part because it’s tedious, but it’s the only way to ensure you don’t end up with a “halo” effect. Work in small sections so the “cut-in” paint is still slightly wet when you start rolling; this helps the textures blend together seamlessly.
- 5. Once your edges are set, it’s time to roll. Don’t just dunk the roller in the tray and go to town. Load it up evenly, work in small sections, and always use a “W” or “M” pattern to distribute the paint before you fill in the gaps. This prevents those annoying streaks and ensures the coverage is uniform. If you feel like you’re applying too much pressure, you probably are. Let the tool do the work; you aren’t trying to scrub the wall, you’re just laying down a layer.
- 6. Patience is your best tool here. Let the first coat dry completely—check the can for the specific dry time, but usually, an hour or two is the minimum. If you try to slap a second coat on while the first is still tacky, you’ll just pull the paint off the wall and create a mess. Once it’s dry to the touch, repeat the rolling process for the second coat. Most decent paints require two coats to truly lock in the color and the durability.
- 7. The final step is the most satisfying: removing the tape. Do not wait until the paint is bone-dry and crusty to pull the tape off, or you risk peeling the new paint right off the wall. Pull it away at a 45-degree angle while the paint is still slightly “green” (just barely set). Once the tape is off, take a damp rag and wipe down any stray drips on the baseboards. Put your outlet covers back on, move your furniture back, and finally, you can actually enjoy the room.
The Essential Painting Supplies Checklist for Real Results
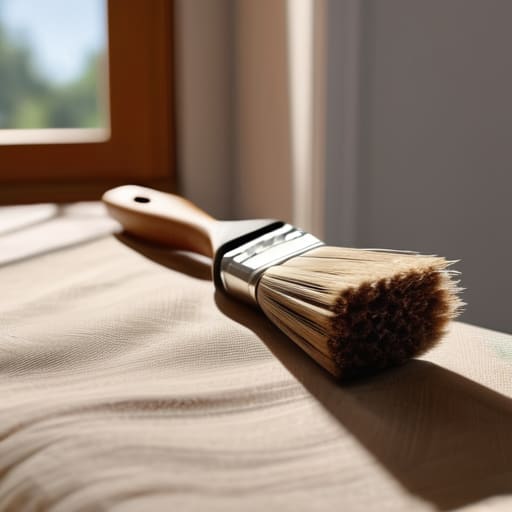
Look, you can buy the most expensive gallon of paint on the shelf, but if you’re using a cheap, stiff brush or a roller that sheds fuzz like a golden retriever, you’re just wasting money. I’ve seen too many people try to cut corners here, only to end up with a streaky mess that looks amateur. My essential painting supplies checklist starts with quality over quantity: get a decent angled sash brush for the edges and a high-density microfiber roller cover. If the tool feels flimsy in your hand, leave it at the store.
When it comes to the actual application, the secret isn’t in the wrist; it’s in the technique. If you want to avoid those dreaded lines, you need to master cutting in edges with a brush before you even touch the roller to the wall. This creates a uniform “wet edge” that prevents visible seams. Also, don’t skip the drop cloths. I don’t care how careful you think you are—preventing paint drips and splatters is much easier than scrubbing dried latex out of a hardwood floor at midnight.
How to Prep Walls for Painting So It Actually Lasts
Look, if you want to skip straight to the color, you’re asking for trouble. I’ve seen too many people rush through the prep phase only to watch their expensive finish bubble or peel within a year. Knowing how to prep walls for painting is actually more important than the painting itself. Start by cleaning the surfaces; a quick wipe with a damp cloth to remove dust and grease ensures the new layer actually bonds to the substrate. If you’ve got holes from old picture frames or scuffs from moving furniture, don’t just slap paint over them. Use a high-quality spackle, sand it down until it’s completely flush with the wall, and then wipe away the dust.
Once the surface is smooth, don’t overlook the edges. Most people think they can just roll over everything, but if you aren’t cutting in edges with a brush first, your room is going to look amateurish and uneven. Take your time around the trim and the ceiling line. It’s tedious, sure, but it’s the difference between a DIY project that looks like a weekend hack and a professional finish that stands the test of time.
Three Ways to Avoid a DIY Disaster
- Stop skimping on the tape. I’ve seen people try to save five bucks by buying the cheap, flimsy painters’ tape, only to end up with jagged, bleeding lines that look like a toddler did them. Get the high-quality crepe tape; it stays put and peels off clean without taking your fresh paint with it.
- Don’t try to be a hero with a single coat. The “one-coat wonder” marketing is mostly nonsense designed to sell more cans. If you want a finish that looks professional and doesn’t look blotchy under a light, plan for two thin, even coats rather than one thick, messy one.
- Watch your lighting. It’s easy to think a color looks great under the warm glow of your living room lamp, but once you hit it with midday sun or a bright LED, it might look like a neon nightmare. Test a small patch on a piece of cardboard and move it around the room before you commit the whole wall to a color.
The Bottom Line
Don’t skimp on the prep work; most “bad” paint jobs are actually just lazy sanding and poor taping.
Buy quality tools once rather than cheap ones three times—your wrists and your finish will thank you.
Final Thoughts Before You Clean Up
At the end of the day, a successful paint job isn’t about having the most expensive gear or following some viral TikTok hack. It comes down to the fundamentals: getting your supplies right, cleaning those surfaces thoroughly, and doing the prep work that most people try to skip. If you’ve sanded the imperfections and taped the edges with precision, the actual painting part is just the victory lap. Don’t let the temptation to rush through the boring bits ruin the final result; consistency is what separates a professional finish from a DIY disaster that looks patchy in a month.
Once the rollers are cleaned and the drop cloths are folded, take a second to actually look at what you’ve done. There’s a specific kind of satisfaction in seeing a room transformed by your own hands using nothing but a bit of grit and a solid plan. Life is messy and trends move too fast, but there is something deeply grounding about building things that last. Put your tools away, grab a drink, and enjoy the space you just built.
