
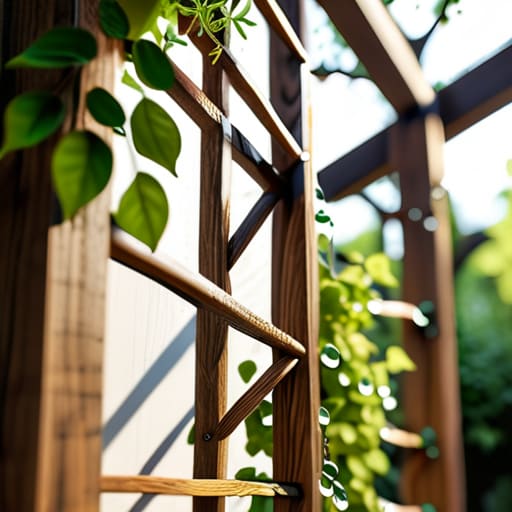
I watched a neighbor struggle with a flimsy, store-bought wire trellis last summer, only to see the whole thing buckle under the weight of a single heavy tomato vine during a July thunderstorm. It was a classic case of buying the convenience instead of the solution. Most people think they need expensive, decorative kits to get started, but if you want to learn how to build a garden trellis that actually survives a season of heavy growth and wind, you need to focus on structural integrity, not aesthetics.
I’m not here to sell you on some complicated, Pinterest-perfect design that falls apart the moment it gets wet. Instead, I’m going to show you a straightforward, heavy-duty method using standard timber and hardware that any of us can pull off in a weekend. We’ll skip the fluff and get right into the mechanics of how to build a garden trellis that stays fixed and functional long after the initial gardening hype has faded.
Guide Overview
Tools & Supplies
- Measuring tape for precise cuts
- Handsaw or miter saw for lumber
- Drill with bits for pilot holes
- Screwdriver or drill driver for assembly
- Untreated cedar or pine stakes (4-6 pieces)
- Garden twine or wire (1 roll)
- Wood screws (1 small box)
- Hammer (1 unit)
Step-by-Step Instructions
- 1. First, get your materials together. Skip the cheap, pressure-treated pine that’s going to warp the second it gets soaked, and go for something like cedar or redwood. You’ll need a few 2×2 posts for the main vertical supports, some thinner lattice or wooden slats for the grid, and a handful of stainless steel screws. I always keep my multi-tool handy for this part, because you’ll likely need to tweak a measurement or trim a stray splinter before you even start drilling.
- 2. Measure out your footprint and set your posts. You aren’t just sticking sticks in the dirt; you’re building a structure that has to fight gravity and wind. Dig your holes at least 18 inches deep, place your vertical posts, and backfill with gravel before you hit it with the soil. This ensures you have a solid drainage base so your posts don’t rot out from the bottom up after a heavy rain season.
- 3. Build your horizontal framework. Once those posts are steady and level, it’s time to connect them. I prefer using 2x2s to create a rectangular frame between the posts. Don’t just butt them up against the wood; use a bit of pre-drilled pilot holes to prevent the timber from splitting. If you skip this step, you’re basically asking for the whole structure to lean to one side by mid-July.
- 4. Create the climbing grid. This is where most people mess up by using flimsy plastic netting that snaps under the weight of a heavy tomato plant. Instead, use wooden slats or even heavy-duty wire mesh. Fasten them to your horizontal frame in a staggered pattern. I like a grid that’s about 6 to 8 inches wide—it’s tight enough to support the weight but open enough that you can actually reach in and prune without fighting the structure.
- 5. Secure the lattice to the posts. If you’re using individual wooden slats for your grid, screw them directly into your vertical posts and horizontal rails. Use enough screws to make it feel rigid and unmoving. If you can wiggle the lattice with your hand, it’s not going to hold up when a massive vine starts pulling on it.
- 6. Reinforce the base. If you’re planning on growing something particularly heavy, like climbing roses or gourds, I’d suggest adding a few diagonal braces at the corners where the posts meet the frame. It’s an extra ten minutes of work, but it’s the difference between a trellis that stands for years and one that collapses under its own weight the moment the first bloom hits.
Essential Garden Trellis Materials List for Heavy Duty Growth
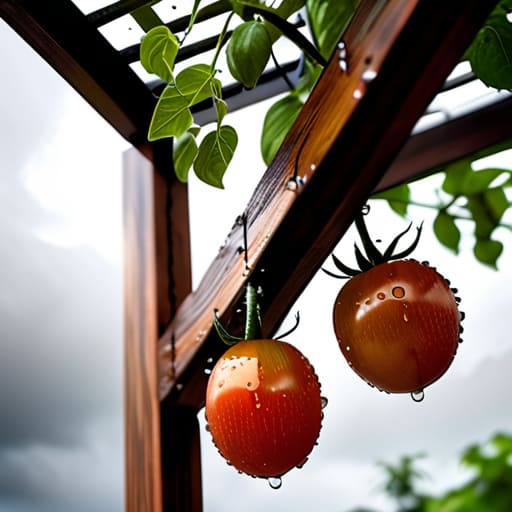
Before you head to the hardware store, let’s get one thing straight: the cheap, thin cedar slats you see in those big-box garden aisles are fine for a few sprigs of jasmine, but they’ll buckle under the weight of a heavy tomato harvest. If you’re building climbing plant support systems meant to last more than a single season, you need to prioritize structural integrity over aesthetics. I always opt for pressure-treated lumber for the main posts to fight off rot, but for the actual lattice work, I prefer rot-resistant hardwoods or thick-gauge galvanized steel. It’s about choosing components that won’t warp the moment they get soaked by a summer thunderstorm.
When you’re putting together your garden trellis materials list, don’t skimp on the fasteners. I’ve seen too many “easy” builds fail because someone used standard interior screws that rusted out in six months. Invest in stainless steel or high-quality exterior-grade screws; they might cost a few extra bucks upfront, but they ensure your structure stays upright when the wind picks up. Think of this as an engineering problem, not just a craft project. If the foundation and the connections are solid, the rest is just assembly.
Choosing Vertical Gardening Structures That Wont Collapse Under Weight
The biggest mistake I see people make is treating a trellis like a piece of lightweight decor rather than a piece of functional infrastructure. If you’re planning on growing something heavy like squash, melons, or even a dense wall of pole beans, you can’t just rely on thin bamboo sticks or flimsy wire mesh. You need to think about the load-bearing capacity of your setup. When you’re looking at different vertical gardening structures, always ask yourself: “What happens to this when it’s soaked with rainwater and weighed down by twenty pounds of fruit?” If the answer is “it bows or snaps,” you’ve picked the wrong design.
Don’t get distracted by those Pinterest-perfect wooden trellis design ideas that look great in a photo but lack structural integrity. For a truly reliable trellis for climbing vegetables, I always recommend a wide footprint at the base. Whether you’re using heavy-duty timber or steel, ensure your upright supports are anchored deep enough to resist the leverage of a heavy plant leaning into the wind. It’s better to over-engineer the frame now than to spend your weekend rebuilding a collapsed mess in mid-July.
Three Things Most People Forget Until the First Storm Hits
- Don’t skimp on the anchors. I’ve seen too many people just stick a wooden frame into soft soil and wonder why it’s face-down in the dirt after a heavy rain. If you aren’t driving stakes at least twelve inches into the ground or using actual masonry anchors, you aren’t building a structure; you’re just leaning a stick against a plant.
- Plan for the weight of the wet. A trellis might look sturdy when the vines are just tiny tendrils, but once you get a heavy load of squash or cucumbers and a week of rain, that weight triples. Build for the maximum possible load, not the current reality, or you’ll be rebuilding the whole thing by mid-July.
- Leave room for air circulation. It’s tempting to pack your trellis with as much greenery as possible to hide the structure, but that’s a recipe for powdery mildew and rot. Build your lattice or frame with enough gaps to let the breeze move through the leaves; if the air can’t flow, your plants will struggle, no matter how much sun they get.
The Bottom Line on Building to Last
Don’t get seduced by cheap, lightweight materials; if you’re growing heavy vines like squash or beans, invest in rot-resistant timber and solid hardware that can handle the seasonal weight without buckling.
Build for the long game by prioritizing structural stability over aesthetics—a trellis that looks “pretty” but leans after the first storm is just more yard waste you’ll have to deal with later.
Build to Last, Not Just to Look Good
At the end of the day, a trellis isn’t just a piece of garden decor; it’s a structural support system for your hard work. If you’ve followed these steps, you’ve moved past the flimsy, plastic options that end up in a landfill by July. You’ve focused on the right timber, secured the foundation, and ensured the frame can handle the actual weight of a mature vine. By prioritizing heavy-duty materials and solid joinery over aesthetic shortcuts, you’ve built something that won’t buckle when the first summer storm rolls through.
Gardening is a lot like systems engineering—it’s about setting up a reliable framework so the living elements can do their job without constant intervention. Don’t get discouraged if your first build isn’t as clean as a professional landscape architect’s work. The goal isn’t perfection; the goal is functional reliability. Once that green canopy starts climbing your structure, you’ll realize that the effort you put into the bones of the project was worth every minute. Now, get out there and get to work.
