
I was standing in my garage last Saturday, staring at a mid-century sideboard that most people would have tossed straight into a landfill, and I realized something: most of the advice you find online about how to refinish furniture is just a recipe for a massive headache and a wasted weekend. You’ll see influencers telling you that a quick coat of “distressed” chalk paint will fix everything, but let’s be honest—that’s just hiding a mistake under a layer of trendy dust. If you don’t understand the chemistry of the wood underneath, you aren’t restoring it; you’re just masking a mess that’ll fail in six months.
I’m not here to sell you on a “magic” product or a complicated ten-step process that requires a professional workshop. What I want to do is show you how to strip back the junk, respect the grain, and apply a finish that actually lasts a lifetime. We’re going to focus on the fundamental mechanics of sanding, stripping, and sealing so you can stop buying cheap particle board and start building a home filled with pieces that actually have some soul.
Guide Overview
Tools & Supplies
- Sandpaper (various grits for smoothing)
- Screwdriver (to remove hardware)
- Paintbrush or foam roller (for even application)
- Tack cloth (to remove dust)
- Wood filler (small container for cracks)
- Primer (1 quart for base coat)
- Paint or Stain (1 quart for finish)
- Degreaser or TSP (small bottle to clean surface)
Step-by-Step Instructions
- 1. First, you need to strip it down to the bones. Don’t bother with those cheap, thin sandpaper sheets from the big-box store; get some decent 80-grit orbital sanding discs and a real sander. You’re looking to remove the old, cracked varnish and any deep scratches that have been hiding under the surface for years. If you’re dealing with a piece that has a heavy lacquer, you might need a chemical stripper first, but don’t get lazy—if you leave any old finish behind, your new coat will peel off like a bad sunburn in a few months.
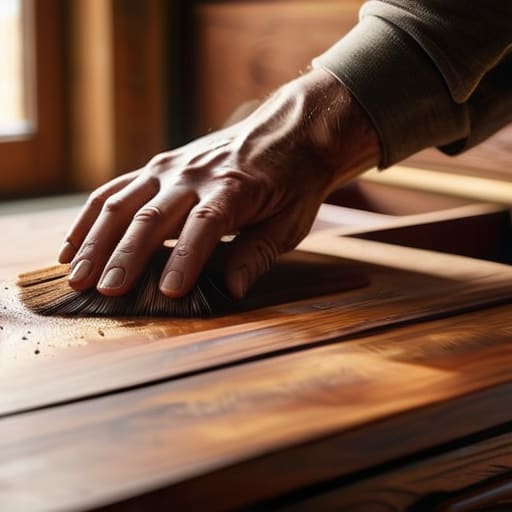
- 2. Once the heavy lifting is done, it’s time to smooth things out. This is where most people rush and end up with a surface that looks like a topographical map. You need to transition from your 80-grit to a 120-grit, and finally a 220-grit. I always tell people to sand with the grain, not across it. If you go against the wood fibers, you’re just creating tiny canyons that will show up even more prominently once you apply the stain.
- 3. Cleanliness isn’t just for kitchens; it’s critical here too. After you’ve finished sanding, grab a vacuum with a brush attachment and then use a tack cloth to wipe down every single inch of the wood. If there is even a microscopic layer of sawdust left in the pores, your finish will look cloudy and unprofessional. I’ve seen too many projects ruined because someone thought “it looks clean enough” and skipped this part.
- 4. Now, let’s talk about color. If you’re using a stain, less is almost always more. Apply it with a lint-free rag, let it sit for the time recommended on the can, and then wipe off the excess thoroughly. I prefer a “build-up” approach rather than trying to get the perfect shade in one go. It’s much easier to add another layer of color later than it is to strip a piece that’s gone too dark.
- 5. This is the part that requires patience, which I know is a hard sell in a world of instant gratification. Apply your topcoat—whether it’s a polyurethane, a wax, or an oil—in thin, even layers. Avoid the temptation to go heavy to “save time.” Thick coats trap air bubbles and create a gummy mess that never truly cures. If you want a professional-grade finish, you have to respect the drying time between coats.
- 6. If you notice any tiny imperfections or dust nibs after the first coat has dried, don’t panic. Just take a piece of very fine 320-grit sandpaper and lightly buff the surface. It’s called scuff sanding, and it’s the secret to that smooth-as-glass feel. Once you’ve done that, wipe it clean one last time and apply your final coat.
- 7. Finally, give it some space. I know you want to put your coffee mug on that new tabletop immediately, but you need to let the finish fully cure. This isn’t just about it being “dry to the touch”; it’s about the chemical process of hardening. If you use the piece too early, you’ll leave permanent indentations in the finish. Let it sit for at least a few days before you put any real weight on it.
Mastering Wood Stripping Techniques and Removing Old Varnish
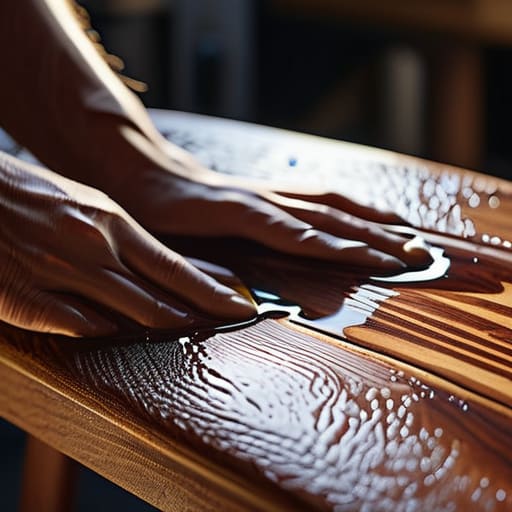
Before you even think about grabbing a sander, you need to deal with the old finish. If you try to sand straight through a thick layer of old lacquer, you’ll just clog up your paper in minutes and end up with a scorched mess. I’ve learned the hard way that removing old varnish is a chemical game, not just a mechanical one. Use a high-quality stripper—the kind that actually stays gelled rather than running all over your floor—and let it do the heavy lifting. Give it time to work. If you rush it, you’ll be fighting stubborn patches for the next three hours.
Once the bulk of the gunk is off, you’ll need to transition to your furniture restoration tools to clean up the grain. This is where people usually mess up; they jump straight to high-grit sandpaper while there’s still residue in the pores. Clean the wood thoroughly with mineral spirits first. You want a surface that’s bone-dry and completely clear of old chemicals before you move on to your sanding progression. Patience here saves you a massive headache when you finally get to the staining stage.
The Essential Furniture Restoration Tools You Actually Need
Look, you can spend a fortune at the big-box hardware store, but most of that is just marketing fluff. You don’t need a garage full of specialized machinery to do this right; you just need the right fundamentals. I always tell my clients that a project is only as good as its preparation. Start with a solid set of furniture restoration tools that won’t fail you halfway through. A decent orbital sander is non-negotiable, but don’t neglect the manual stuff. A high-quality block sander and a variety of sandpaper are what actually prevent those annoying swirl marks that show up once you start the final coat.
When it comes to the grit, don’t just grab whatever is on sale. You need to follow a proper furniture sanding grits guide to avoid ruining the wood grain. I usually start around 80 or 100 for heavy lifting and work my way up to 220 before I even think about a stain. If you skip the progression, you’re just sanding the surface without actually leveling it. Also, keep a pack of tack cloths handy. If you leave even a microscopic layer of dust behind, your finish will look like it’s trapped under a sheet of ice. Precision beats power every single time.
Three Rules to Keep You From Ruining Your Hard Work
- Don’t rush the drying time. I’ve seen plenty of guys skip the wait because they’re eager to see the finished product, only to have the new stain react with the leftover residue and turn into a gummy, uneven mess. If the instructions say wait twenty-four hours, you wait twenty-four hours. Patience is a tool, just like a scraper.
- Test your finish on a scrap piece first. Every wood species reacts differently to oils and stains, and what looks good on a swatch in a store might look like a disaster on your actual dining table. Take a piece of the same wood—or even a hidden underside—and see how it takes the color before you commit to the whole surface.
- Sanding is a marathon, not a sprint. It’s tempting to jump straight to the fine-grit paper to get it done, but if you don’t work your way up systematically from coarse to fine, you’re going to leave swirl marks that will show up like neon signs once the topcoat hits. Do the grunt work properly so you don’t have to redo it.
The Bottom Line
Don’t rush the prep work; if you leave even a tiny bit of old finish or grit in the grain, your new coat will look like a disaster no matter how much money you spent on the stain.
Invest in quality tools you can actually use more than once, because cheap, flimsy sandpaper and bad scrapers are just a fast way to waste your afternoon and ruin a good piece of wood.
The Finish Line
At the end of the day, refinishing furniture isn’t about achieving some impossible, showroom-perfect miracle. It’s about the fundamentals: choosing the right grit, stripping that old varnish without gouging the grain, and having the patience to let the finish cure properly. If you’ve done the prep work right—and I mean really done it—the actual application of the stain or oil becomes the easiest part of the job. You’ve moved past the hype of “quick fixes” and actually put in the mechanical work required to make something last.
Don’t get discouraged if your first attempt isn’t a masterpiece. Even with a systems engineering mindset, there’s always a bit of friction when you’re working with organic materials like wood. The goal isn’t perfection; it’s functional durability. You’re taking something that was headed for a landfill and giving it a second life through sheer persistence. So, clean your tools, check your lighting one last time, and get to work. You’ve got this.