
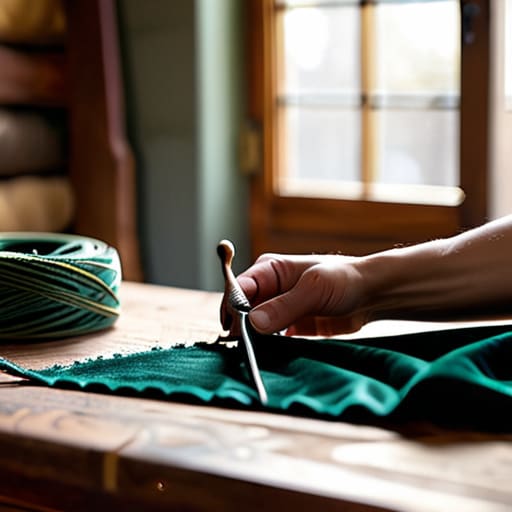
I was staring at a mid-century armchair last weekend, watching the sunlight hit a patch of fabric that was so worn it looked more like felt than upholstery. Most people would have seen a piece of junk destined for a landfill, but I saw a solid frame that just needed a little mechanical attention. The internet is full of tutorials that make learning how to reupholster a chair look like a high-end art project involving expensive specialized tools and endless patience, but that’s mostly noise. In reality, if the bones are good, you don’t need a master’s degree in textile design; you just need the right sequence of steps and a bit of grit.
I’m not here to talk about matching your cushions to your curtains or chasing some fleeting interior design trend. My goal is to show you the functional reality of the process. I’m going to walk you through how to strip a piece down to its core, how to select fabrics that won’t pill after three months of use, and how to secure everything so it actually stays put. We’re going to focus on durability and logic, ensuring that once you’re done, that chair isn’t just a decoration, but a reliable piece of furniture that functions as well as the day it was built.
Guide Overview
Tools & Supplies
- Staple gun and staples for securing fabric
- Upholstery pliers for pulling fabric and staples
- Fabric scissors for precise cutting
- Screwdriver for removing seat components
- Measuring tape for calculating yardage
- Upholstery fabric (2-3 yards depending on chair size)
- High-density foam (1 pad)
- Batting/Dacron (1 roll or sheet)
- Dust cover fabric (1 yard for bottom)
Step-by-Step Instructions
- 1. Before you even touch a staple gun, you need to strip the chair down to its bones. Take a screwdriver or a flathead and carefully remove the old fabric, the padding, and the webbing. Don’t just rip it off in a frenzy; keep the old fabric pieces as a makeshift template for your new material. If you throw away the original pattern, you’re just guessing, and guessing leads to wasted fabric and a lopsided seat.
- 2. Once the frame is bare, inspect the structural integrity. This is where most people skip ahead to the “pretty” part and regret it later. Check the wooden joints for wobbles and ensure the webbing is still tight. If the old elastic has lost its snap, replace the webbing now. It’s much easier to fix a structural issue while the chair is empty than to try and stabilize a finished piece that feels like a sponge.
- 3. Now, lay out your new fabric on a clean floor and place the chair seat on top of it. You want enough overhang on all sides to pull comfortably. I usually recommend adding at least three to four inches of extra material beyond the edges of the seat. If you cut it too close to the dimensions of the chair, you’ll find yourself fighting a losing battle with the tension in the final steps.
- 4. Start the stapling process by creating tension anchors. Pull the fabric taut over one side and drive a staple into the underside of the frame, then do the exact same thing on the opposite side. Move to the remaining two sides and repeat. At this stage, the fabric should look like a drum skin—firm, but not so tight that you’re distorting the shape of the frame. If it’s sagging, start over before you commit.
- 5. Work your way around the perimeter, stapling in small increments. Don’t just hammer them in randomly; alternate sides to keep the tension even. As you reach the corners, you’ll need to perform some “surgical” folding. Pull the excess fabric into neat, flat pleats and staple them down securely. This is the difference between a chair that looks professional and one that looks like a DIY disaster.
- 6. For the final touch, trim away any excess fabric that’s hanging off the bottom, but leave enough so you can tuck it neatly into the frame or under the dust cover. If your chair has decorative trim or piping, make sure it’s aligned before you make the final cuts. Once the fabric is secure, run your hand along the edges to ensure there are no sharp staples or loose threads that could snag your clothes later.
The Essential Upholstery Tools and Supplies You Actually Need
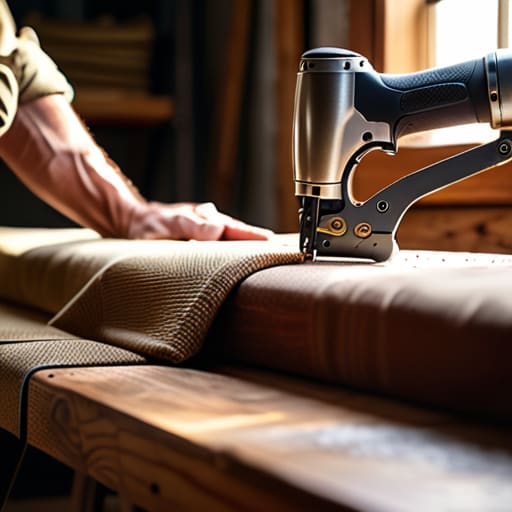
Look, you don’t need a professional workshop to get this done, but you do need to avoid the cheap, plastic junk you find at the big-box stores. If you’re serious about this, skip the handheld staple guns that feel like toys; invest in a heavy-duty electric or pneumatic one. When it comes to staple gun techniques for furniture, the secret isn’t just how hard you pull, but ensuring your staples are driven straight and deep enough to stay put when someone actually sits down.
Don’t get blinded by a pattern you love on a screen, either. Before you buy, use an upholstery fabric yardage calculator to account for the curves and corners—nothing kills a project faster than running out of material three inches from the finish line. While you’re at it, grab some high-density foam. Replacing chair foam padding with the cheap, thin stuff is a waste of your time; go for something that actually holds its shape so you aren’t redoing this whole job again in twelve months.
Removing Old Fabric From Chairs Without Damaging the Frame
Before you start ripping things apart, take a second to look at how the original maker put it together. I’ve seen too many people dive in with a pair of pliers and end up splintering a wooden frame because they were pulling against a structural brace. Instead of just yanking, use a pair of end-cutting nippers or a specialized staple remover to slowly work your way through the old fasteners. When you’re removing old fabric from chairs, your goal isn’t speed; it’s intelligence. If you can strip the fabric away systematically, you’ll keep the frame intact and, more importantly, you’ll have a clear view of what’s happening underneath.
Keep those old scraps in a neat pile as you go. It might seem like clutter, but those remnants are your best blueprint for the new layer. You need to see exactly where the old staples were placed and how the tension was managed. This is especially critical if you’re planning on replacing chair foam padding or adjusting the tension of the webbing. If you destroy the evidence of how the chair was originally built, you’re just guessing when you start the rebuild. Treat the teardown like a diagnostic phase—once you know the structural baseline, the actual assembly becomes a lot less stressful.
Three Ways to Avoid a Total Upholstery Disaster
- Don’t ditch the old fabric until the new stuff is actually on the chair. I know it’s tempting to clear the workspace, but that old material is your blueprint. Use it to trace your pattern cuts and see exactly how the original maker handled the corners and seams. Once it’s gone, you’re just guessing.
- Stop chasing “aesthetic” fabrics and start looking at the Martindale rub count. If you’re reupholstering a chair that’s going to see actual daily use, a high-fashion linen is going to look like a rag in three months. Look for heavy-duty weaves or performance fabrics that can actually take a beating.
- Tightness is everything, but don’t overdo it. You want the fabric taut enough that it doesn’t sag when you sit down, but if you pull too hard, you’ll warp the frame or cause the fabric to ripple at the seams. Think of it like tensioning a drumhead—firm, even, and controlled.
The Bottom Line on Chair Restoration
Don’t let the “perfect” result paralyze you; focus on structural integrity and tension, because a chair that feels solid is always better than one that just looks pretty on Instagram.
Invest in quality materials like heavy-duty webbing and high-density foam rather than cheap substitutes, because if you’re going to do the work once, you might as well do it so you never have to do it again.
The Finished Product
At the end of the day, reupholstering isn’t about achieving some Pinterest-perfect aesthetic that looks good in a photo but fails in real life. It’s about the mechanics of the job—stripping the old material carefully, choosing a heavy-duty fabric that can actually withstand a decade of use, and ensuring your tension is consistent across the frame. If you’ve followed the steps, you haven’t just changed the look of a piece of furniture; you’ve reinforced its structural integrity and extended its lifecycle. You’ve taken something destined for a landfill and turned it back into a functional asset for your home.
Don’t get discouraged if your first few staples aren’t perfectly straight or if the corners feel a bit stubborn. Mastery comes from the repetition of the work, not from reading a manual. There is a quiet, steady satisfaction in looking at a chair and knowing you built it to last. Once the hype of the latest decor trends fades, you’ll still have a solid, well-made seat that works exactly the way it was meant to. Now, go grab your tool kit and get to work.