
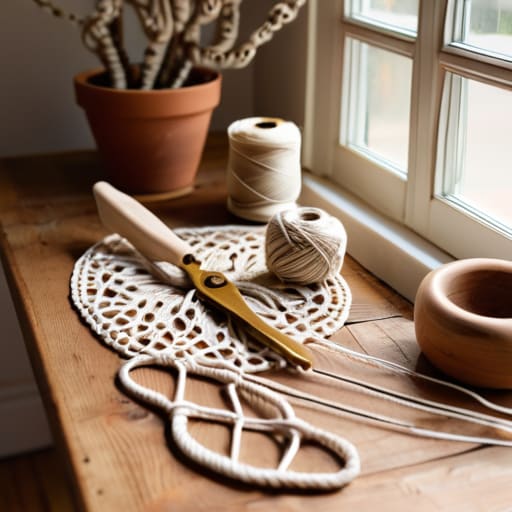
Most people think you need a studio full of expensive, color-coordinated cotton cords and a mountain of “inspiration” boards to get started with macrame for beginners. Honestly? That’s just expensive fluff that gets in the way of actually learning the craft. I learned that the hard way a few years ago when I tried to tackle a plant hanger using some flimsy, over-processed twine I found at a boutique shop; the whole thing sagged under the weight of a single pothos and ended up as a tangled mess on my workshop floor. If you want results that actually hold weight, you need to stop chasing the aesthetic and start focusing on the mechanics of the knots.
In this guide, I’m stripping away the Pinterest nonsense to show you how to build a foundation that lasts. We aren’t going to waste time on decorative filler; instead, I’ll walk you through the specific tools, cord types, and core knotting techniques that actually matter. My goal is to give you a functional roadmap so you can move past the frustration and start creating pieces that are as durable as they are decent-looking. Let’s get to work.
Guide Overview
Tools & Supplies
- Scissors for cutting cord
- Measuring tape for length accuracy
- S-hooks or dowels to hang work
- Cotton macrame cord (3mm or 4mm) 1 roll
- Wooden dowel or ring 1 piece
- Masking tape to secure workspace
Step-by-Step Instructions
- 1. First, stop looking at those intricate, floor-to-ceiling wall hangings on Instagram and just get your workspace set up. You don’t need a fancy studio; a sturdy table or even a heavy-duty command hook on a door will do. Most importantly, grab a pair of sharp shears—not kitchen scissors, but actual fabric or craft shears—because if you’re hacking at cord with dull blades, you’re going to end up with a frayed, uneven mess that’ll drive you crazy.
- 2. Next, pick your cord. Most beginners gravitate toward that super-soft, recycled cotton because it feels good, but if you’re actually trying to build something that holds its shape, I’d suggest a 3mm or 4mm single-strand cotton cord. Avoid the braided stuff for your first few projects; it’s harder to manipulate and tends to behave unpredictably when you’re trying to tension your knots.
- 3. Now, let’s talk about the “mounting” phase. Whether you’re using a wooden dowel or a piece of driftwood you found on a hike, you need to secure your cords properly. Fold your cord in half to create a loop—this is called a “lark’s head knot”—and slide it over your support. This is the foundation of your entire piece, so make sure it’s tight and centered before you even think about moving to the next step.
- 4. It’s time to learn the workhorse of the macrame world: the Square Knot. This isn’t about art; it’s about structural integrity. You’ll need four strands of cord to do this right. Think of it like a simple mechanical connection—you’re essentially weaving the outer two strands around the inner two. Master this knot until you can do it without looking at a diagram, because it’s the building block for almost everything else.
- 5. Once you’ve got the square knot down, try a Half Hitch. This is how you create those diagonal lines or borders that give a piece its direction. It’s essentially a way to “lock” a row of knots in place. I like to think of it as setting a perimeter; it keeps the design from looking like a pile of tangled string and gives it that clean, intentional edge that separates a project from a mistake.
- 6. As you work, keep a close eye on your tension. This is where most people fail. If you pull one knot tight and the next one loose, your whole piece will skew to one side, looking more like a collapsed tent than a wall hanging. Aim for consistent, rhythmic tension—treat it like you’re tightening bolts on a machine; you want them all seated with the same level of torque.
- 7. Finally, don’t skip the finishing pass. Once you’ve reached the desired length, trim your cord ends. If you want that trendy “fringe” look, use a fine-tooth comb to brush out the ends of a single-strand cord. If you want something more rugged and architectural, a clean, blunt cut is much more effective. Clean up the edges, hang it up, and see if it actually holds the weight you intended.
Selecting Essential Macrame Supplies That Actually Last
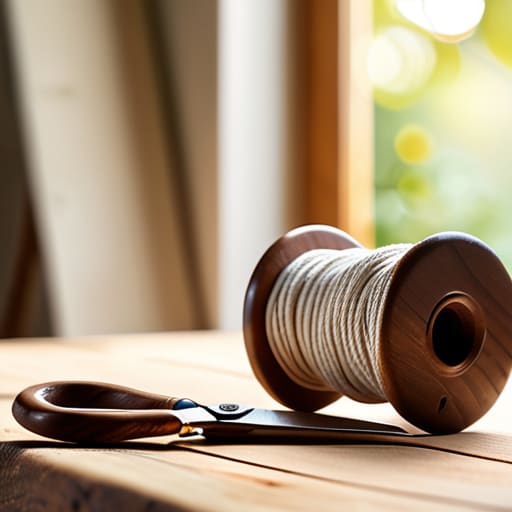
Don’t get distracted by those colorful, synthetic kits you see in the bargain bins at big-box craft stores. They look fine on a shelf, but once you start working, you’ll realize they lack the structural integrity needed for decent work. If you want your projects to hold their shape, you need to understand the different cotton cord types for macrame. I always suggest starting with a 3mm or 4mm single-twist cotton cord. It’s predictable, it’s tactile, and it doesn’t fray into a chaotic mess the moment you apply tension.
When you’re sourcing your essential macrame supplies, think about the longevity of the piece. A cheap, overly stretchy cord might make a quick knot, but it’ll sag and deform within a month of hanging. Invest in a solid wooden dowel or a piece of reclaimed driftwood instead of plastic hangers; you want a foundation that won’t warp under the weight of your knots. If you buy the right materials once, you won’t spend your weekends undoing a mess of cheap fibers just to get a clean finish.
Mastering Cotton Cord Types for Macrame Durability
Most people walk into a craft store and grab the first spool of colorful string they see, only to realize halfway through their first project that the material is garbage. If you’re serious about building macrame wall hanging projects that won’t sag or fray into a mess within a month, you need to understand the structural integrity of your cord. Single-strand cotton is fine for light, decorative work, but it lacks the “memory” needed for tight, crisp knots. If you want your work to hold its shape, I recommend moving toward a 3-ply or 4-ply twisted cord. It provides the tension and stability required when you’re practicing beginner macrame techniques like the basic hitch or a standard knot.
When you’re looking at different cotton cord types for macrame, pay attention to the twist. A tight, consistent twist means the cord will behave predictably under tension, which is vital when you’re following a specific pattern. If the cord is too loose or “hairy,” your knots will lose their definition and the whole piece will look sloppy. Think of it like choosing the right gauge of wire for a circuit; you want something that holds its form under pressure. Get the right material upfront, and you won’t have to tear the whole thing down just to fix a structural failure.
Three Hard Truths for Getting Your Knots Right
- Stop obsessing over the perfect pattern. If you try to jump straight into a complex wall hanging without mastering the square knot and the lark’s head, you’re going to end up with a tangled mess of wasted cord. Get the tension consistent on the basics first; that’s where the real structure comes from.
- Watch your tension like a hawk. In systems engineering, if the tolerances are off, the whole build fails. Macrame is no different. If you pull one knot tight and the next one loose, your project is going to look lopsided and amateurish. Aim for a steady, rhythmic pull every single time.
- Don’t buy the cheap, fuzzy stuff just because it looks good in a photo. If the cord is shedding fibers everywhere, it’s going to drive you crazy and make your knots look messy. Invest in a clean, high-twist cord that holds its shape. It’s better to spend an extra ten bucks now than to fight your materials for three hours later.
Bottom Line: Build for Function, Not Just Photos
Don’t get distracted by the cheap, colorful synthetic cords you see in craft aisles; stick to high-quality, single-strand cotton that provides the tension and durability your projects actually need to hang straight.
Focus on mastering the core knots first—once you have the fundamentals down, you can stop worrying about the “how” and start focusing on the structure of what you’re actually building.
Beyond the First Knot
At the end of the day, macrame isn’t about achieving some flawless, magazine-ready masterpiece on your first try. We’ve covered the essentials: choosing a cord that won’t fray under pressure, picking tools that serve a purpose, and mastering those foundational knots that provide the structural integrity your project needs. If you focus on the mechanics of the knot rather than just the visual pattern, you’ll find that your work becomes significantly more durable. Don’t let a messy tension or a slightly uneven hanging line discourage you; in my experience, consistency beats perfection every single time when you’re building something from scratch.
My advice is to stop looking at the finished product on a screen and start feeling the tension in the rope in your hands. There is a quiet, steady satisfaction in creating something functional with nothing but cord and your own two hands. It might feel clumsy at first, but once you find your rhythm, it becomes a way to tune out the noise of a chaotic week. Just keep your workspace organized, keep your knots tight, and trust the process. You’re building more than just decor; you’re building a new skill set.
