
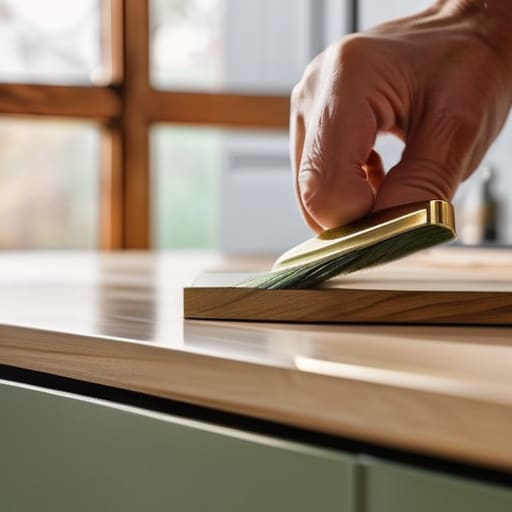
I spent three days last summer staring at my kitchen, convinced that if I just bought that expensive, “miracle” spray paint I saw on social media, I could transform the room by dinner. I was wrong. I ended up with a sticky, uneven mess that looked like a toddler had played with a glue gun, and I realized that most of the advice out there on how to paint kitchen cabinets is just a way to sell you more useless gadgets. The truth is, you don’t need a professional studio setup or a thousand dollars in specialty gear; you just need to respect the process and understand the physics of how paint actually sticks to wood.
I’m not here to show you a Pinterest-perfect fantasy that falls apart the first time you bump a pot against a door. Instead, I’m going to walk you through a system that focuses on the heavy lifting: the prep, the sanding, and the right kind of enamel. We’re going to skip the fluff and focus on a method that ensures your finish is durable enough to actually live in, so you can stop worrying about peeling paint and start enjoying your kitchen again.
Guide Overview
Tools & Supplies
- Screwdriver or Drill to remove hardware
- Sandpaper (various grits) for smoothing surfaces
- High-quality brush for edges
- Small foam roller for smooth finish
- Drop cloths to protect floors
- Cabinet degreaser or TSP to clean surfaces
- Primer (stain-blocking) 1-2 gallons
- Cabinet-grade paint 1-2 gallons
- Painter's tape for clean lines
Step-by-Step Instructions
- 1. Start by stripping the room. I’m not talking about just moving the toaster; I mean taking everything off the doors and drawers. Label every single hinge and piece of hardware with a piece of painter’s tape so you don’t end up with a pile of unidentifiable metal at the end of the day. If you try to paint around the hardware, you’re just asking for a messy, amateur look that will haunt you later.
- 2. Cleaning is the step most people try to skip, and it’s exactly why their paint starts peeling in a year. Kitchens are grease traps, even if they look clean. Use a heavy-duty degreaser—something like TSP (trisodium phosphate)—to scrub every inch of the wood. If you leave even a thin film of cooking oil behind, your expensive primer won’t stick, and you’ll be repainting by Christmas.
- 3. Now you need to sand. You aren’t trying to strip the wood down to the grain like you’re refinishing an antique table; you’re just “scuff sanding” to create a profile for the new coating to grab onto. Use a medium grit, around 120 or 150, and move in the direction of the wood grain. Once you’re done, wipe everything down with a tack cloth. If you see any lingering dust, stop and clean it again; dust is the enemy of a smooth finish.
- 4. Apply a high-quality primer. Don’t go to the big-box store and grab the cheapest gallon on the bottom shelf just because it saves you twenty bucks. You need a dedicated, high-adhesion primer designed for cabinetry. Use a high-quality brush or a small foam roller to get into the corners. The goal here is total coverage and a uniform surface so the actual color coat looks professional rather than blotchy.
- 5. This is where the patience kicks in. Apply your topcoat in thin, even layers. I know it’s tempting to glob it on to get it done faster, but that’s how you end up with drips and “orange peel” texture. Two or three thin coats are always better than one thick, heavy one. If you’er using an enamel paint, let it dry according to the can’s instructions before you even think about hitting it with a second layer.
- 6. Once the paint is dry to the touch, reassemble everything. Don’t rush this part. If the paint feels even slightly tacky, wait another day. If you force those doors back onto the hinges too early, you’ll leave permanent fingerprints in your fresh finish. Take your time, screw everything back in, and test the alignment of every door before you call the job finished.
The Essential Cabinet Painting Supplies Checklist for Real Results
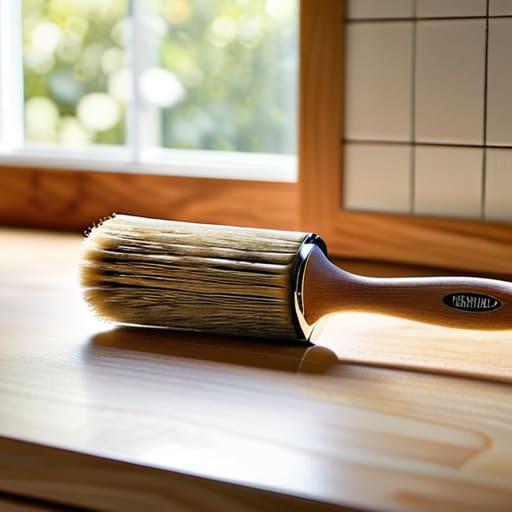
Look, you can buy the most expensive sprayer on the market, but if your kit is missing the basics, you’re just making a mess. Before you start, get your cabinet painting supplies checklist in order. I always tell people to skip the cheap big-box brushes; they shed bristles like a golden retriever, and those tiny hairs stuck in your finish are a nightmare to fix later. Invest in a high-quality synthetic brush or a small microfiber roller if you want to avoid preventing brush marks on cabinets becomes a full-time job.
Don’t forget the chemistry side of things. You can’t just slap standard wall paint on wood and expect it to survive a greasy spoon or a spilled coffee. You need a dedicated cabinet primer and topcoat system designed for high-traffic surfaces. I usually recommend a water-based alkyd enamel—it levels out beautifully so you get that smooth, factory-like look without the toxic fumes of old-school oil. Get the right gear now, or you’ll be paying for it in frustration later.
Mastering How to Prep Cabinets for Painting Without Wasting Time
Look, if you want to skip the part where your paint starts peeling off in six months, you have to treat prep like a systems engineering problem. Most people rush through removing cabinet hardware and cleaning, thinking they can make up for it later with a fancy topcoat. They can’t. If there’s even a trace of grease or old wax left on those surfaces, your primer isn’t going to bond; it’s just going to sit there like a layer of loose skin. Take the time to degrease everything thoroughly. I’ve seen too many DIY projects fail simply because someone was too impatient to scrub the grime out of the corners.
Once the surfaces are clean and dry, your focus shifts to the actual texture. This is where people get tripped up on how to prep cabinets for painting effectively. You don’t need to sand them down to bare wood—that’s a massive waste of energy—but you must scuff the existing finish so the new layer has something to grab onto. If you’re debating between spraying vs brushing cabinets, remember that a sprayer will give you a factory-smooth look, but it requires even more meticulous masking. If you go the brush route, just make sure your sanding is consistent so you aren’t fighting uneven surfaces halfway through the job.
Three Hard Truths to Keep Your Finish from Failing
- Stop trying to cover everything in one thick coat. It’s tempting to move fast, but thick paint leads to runs, drips, and a texture that feels like orange peel. Apply thin, even layers. You’ll likely need three or four, but they’ll dry properly and look professional instead of amateur.
- Don’t skip the primer, even if the can says the paint is “all-in-one.” Kitchen cabinets deal with grease, steam, and constant contact. A dedicated, high-adhesion primer acts as the structural bond between your wood and your finish. If the bond fails, the paint peels, and you’ve wasted your entire weekend.
- Give it more time to cure than you think it needs. There is a massive difference between “dry to the touch” and “fully cured.” If you start slamming those doors shut or loading heavy plates into the cabinets twenty-four hours after painting, you’re going to chip the finish. Let them sit for at least a few days before you put them back into heavy service.
The Bottom Line on Getting It Right
Don’t skimp on the prep work; if you try to rush the sanding or cleaning stages to save an hour, you’ll end up spending three days fixing peeling edges and bubbles later.
Invest in high-quality enamel paint rather than whatever’s on sale; it’s the difference between a finish that stands up to daily grease and scrubbing and one that looks like a DIY disaster by next month.
Getting It Over the Finish Line
Look, painting cabinets isn’t a weekend sprint; it’s a marathon of patience. If you’ve done the work—the deep cleaning, the sanding, and the careful taping—you’ve already handled the hardest part. Don’t let the temptation to rush the drying process or skip a coat of primer ruin your progress. The secret to a finish that doesn’t chip the first time you bump a pot against it is investing in the prep work and choosing a high-quality enamel that can actually handle the daily abuse of a working kitchen. If you stick to the system, you won’t be staring at peeling edges six months from now.
At the end of the day, your kitchen should be a space that functions for you, not a showroom that feels too precious to touch. There’s a specific kind of satisfaction that comes from looking at a room and knowing you built the durability into it yourself. It’s not about chasing a Pinterest aesthetic; it’s about the steady, methodical work of maintaining your own home. Once the dust settles and the last coat cures, you’ll have a kitchen that looks sharp and, more importantly, stays that way.