
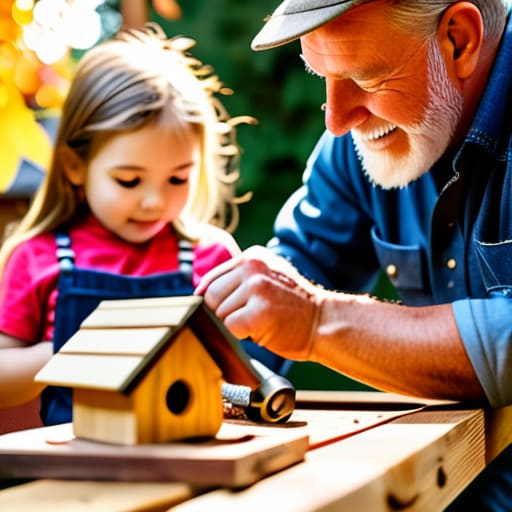
I was standing in my backyard last April, looking at a pile of rotting, neon-painted plywood that some “beginner kit” had promised would last for years. It was a mess—the bottom was soft from moisture, the entrance hole was the wrong size for the local wrens, and it was basically a glorified coffin for anything that tried to nest in it. If you’re looking for a Pinterest-perfect craft project, you’re in the wrong place, because I’m going to show you how to build a birdhouse that actually serves its purpose. We aren’t here to make something pretty that falls apart in one season; we’re here to build something functional.
In this guide, I’m stripping away the fluff and focusing on the fundamentals of wood choice, drainage, and proper dimensions. I’ll walk you through the exact steps to create a sturdy, weather-resistant shelter using standard materials you can find at any hardware store. No fancy power tools required—just a few basics and a plan that actually works. Let’s get to work.
Guide Overview
Tools & Supplies
- Handsaw or miter saw for cutting wood
- Hammer for assembling pieces
- Drill with small bits for pilot holes and entrance hole
- Measuring tape for accurate dimensions
- 1 piece of 1" x 6" cedar or pine board (approx. 5 feet)
- 1 box of 1.5-inch exterior grade nails or screws
- Wood glue for extra stability
Step-by-Step Instructions
- 1. First, you need to get your materials right. Don’t bother with pressure-treated lumber; the chemicals are bad for the birds and honestly, they’re a pain to work with. Grab a single, solid piece of untreated cedar or redwood. These woods handle the weather naturally without needing a coat of toxic paint that’ll just peel off in six months.
- 2. Once you have your wood, it’s time to mark your cuts. You aren’t building a piece of fine furniture here, so don’t overthink the aesthetics, but you do need precise dimensions if you want the pieces to actually fit together. Use a carpenter’s square to mark out your floor, your four walls, and your roof pieces. Aim for a floor size of about 5×5 inches—anything smaller and they’ll be too cramped, anything larger and they can’t regulate their heat.
- 3. Now, grab your saw and start cutting. If you’re using a hand saw, take your time; if you’re using a miter saw, make sure your blade is sharp so you don’t get splintered edges. When you get to the front panel, you need to drill the entrance hole. This is the most critical part: don’t just guess the size. A bluebird needs a 1.5-inch hole, while a chickadee needs something smaller. If the hole is too big, you’re basically inviting predators to a buffet.
- 4. It’s time to assemble, and this is where most people mess up by using too many nails. Use exterior-grade screws or galvanized nails so they don’t rust out the first time it rains. Start by attaching the sides to the back, then drop the floor in. I always recommend drilling a few small drainage holes in the bottom corners of the floor. If water gets in there and can’t get out, you’re just building a damp tomb instead of a home.
- 5. Attach the front panel, but here is a pro tip: only secure one side of it with a single screw at the top to act as a hinge. This allows you to swing the front panel upward so you can actually clean out the old nesting material at the end of the season. If you glue or nail it shut, you’ll be tossing the whole thing in the trash next year because it’s too much of a headache to maintain.
- 6. Finally, mount the finished house. Skip the flimsy plastic hooks. Find a sturdy post or a tree trunk and use heavy-duty mounting screws to secure it. You want the house to be high enough to avoid predators—usually about 5 to 10 feet off the ground—and positioned so the entrance isn’t facing directly into the prevailing wind. Do it right once, and you won’t have to touch it again for a long time.
Choosing the Best Wood for Outdoor Birdhouses and Durability
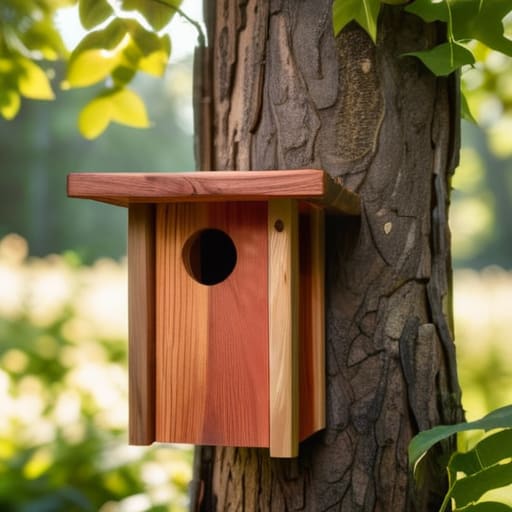
Look, you can spend a fortune on fancy hardwoods, but if you aren’t picking the right material, you’re just building a temporary ornament. When it comes to finding the best wood for outdoor birdhouses, I always steer people toward cedar or redwood. They’ve got natural oils that act as a built-in defense against rot and insects, which means you won’t be out there every six months trying to patch up a crumbling structure. If you’re on a tighter budget, pine works in a pinch, but you’ll need to be much more intentional about protecting birdhouses from weather using non-toxic sealants.
Whatever you choose, skip the pressure-treated lumber. I know it’s cheap and easy to find at any big-box store, but those chemicals are a disaster for the birds you’re actually trying to help. Stick to untreated, rot-resistant species. It’s a small upfront cost, but it ensures the house stays structurally sound for years rather than just one season. If you build it with the right wood, it becomes a permanent fixture in your yard rather than a weekend chore.
Essential Woodworking Tools for Birdhouses You Actually Need
Look, you don’t need a professional-grade workshop or a massive budget to get this done right. I’ve seen people get paralyzed by gear lists, but if you’re just starting out, a decent handsaw, a hammer, and a measuring tape are your bread and butter. If you want to make your life easier, invest in a good set of drill bits; you’ll need them for creating entry holes that match the specific birdhouse dimensions for specific species you’re trying to attract. Precision matters here—not for aesthetics, but because a sloppy hole can make the house unusable for the birds you actually want.
When it comes to the assembly, don’t skimp on your fasteners. I always suggest using galvanized nails or exterior-grade screws. If you use cheap hardware, the first heavy rain will rust them out, and you’ll be back at the workbench before the season is even over. A solid approach to attaching birdhouse roof panels with a few well-placed screws—rather than just relying on glue—ensures the structure stays rigid against the wind. Keep it simple, keep it sturdy, and buy tools that feel balanced in your hand.
Three things that actually matter once the glue dries
- Skip the perch. I know it looks right in the pictures, but a little wooden dowel is just a landing pad for predators to hang onto while they raid the nest. Keep the entrance clean and let the birds find their own way in.
- Drill some ventilation and drainage holes. If you build a sealed box, you’re essentially building an oven for the chicks. A few small holes near the top for airflow and some in the floor for moisture will keep the interior from becoming a swamp.
- Don’t overthink the finish. If you feel the need to paint it, stick to something muted that blends into the environment. You aren’t trying to win a design award; you’re trying to make a structure that doesn’t scream “food is here” to every blue jay in the neighborhood.
The Bottom Line
Don’t overcomplicate the design or chase aesthetics; focus on using rot-resistant wood like cedar and keeping the construction simple so it can actually stand up to the weather.
You don’t need a workshop full of expensive power tools to do this right—just get the right basics, build it solid, and make sure it’s functional for the birds, not just pretty for you.
Getting it Done
At the end of the day, building a birdhouse isn’t about making some Pinterest-perfect piece of art; it’s about functional design. You’ve got your cedar picked out, your tools are organized, and you know exactly which measurements matter. Avoid the temptation to overcomplicate the build with unnecessary decorative trim that just rots away in a year. If you stick to the fundamentals—solid wood, proper drainage, and a simple entry hole—you’ll have a structure that actually serves its purpose for years to come.
There is something deeply satisfying about stepping back and seeing a project move from a pile of raw lumber to a finished product hanging in your yard. It’s not just about the birdhouse; it’s about the fact that you built something with your own two hands. Don’t worry if your first attempt has a few rough edges or a slightly crooked nail. Just get it up, get it out there, and start building. The real reward isn’t a perfect score; it’s the steady progress of learning a new skill one project at a time.
