
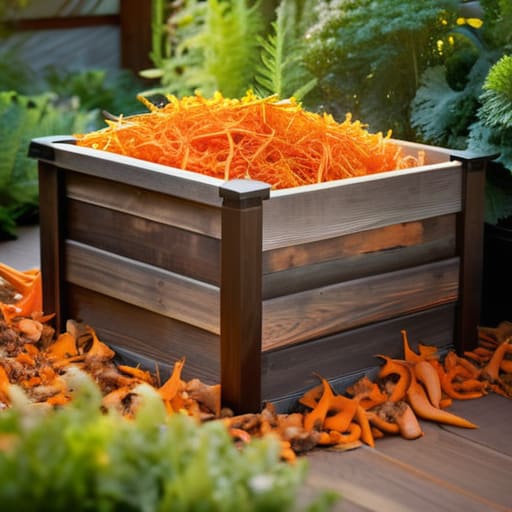
I spent a good chunk of my Saturday morning digging through a pile of soggy, smelling kitchen scraps, wondering why my “designer” countertop composter was doing nothing but attracting fruit flies. Most people think you need a high-tech, $300 rotating drum system to do this right, but that’s just more expensive noise. If you actually want to learn how to make a compost bin that works, you don’t need a gadget; you need a functional design that respects the biology of decay.
I’m not here to sell you on a lifestyle trend or a fancy aesthetic. In this guide, I’m going to walk you through building a straightforward, heavy-duty bin using materials you probably already have in your garage or can grab for twenty bucks at the hardware store. We’re going to focus on airflow, moisture control, and durability—the three things that actually matter when the hype dies down and you’re left with a pile of dirt.
Guide Overview
Tools & Supplies
- Drill with spade bit for aeration holes
- Handsaw or utility knife for cutting materials
- Measuring tape for layout
- 1 Plastic trash can (approx. 30 gallons)
- 1 Drill bit (1/2 inch or larger)
- 2 Small buckets or containers for lid stability
Step-by-Step Instructions
- 1. First, pick your spot and clear the ground. You don’t need a level concrete pad, but you do need a patch of earth that gets a bit of sunlight and has decent drainage. If you put it in a low spot where water pools, you’re just going to end up with a stinking, anaerobic mess that no one wants to deal with. Clear away the tall weeds and any large rocks so you have a clean workspace to start.
- 2. Gather your materials—and keep it simple. I’m not talking about those $200 rotating tumblers you see in lifestyle magazines; most of them are overkill and break within a year. All you really need are some heat-treated wooden pallets or a stack of untreated cedar fence pickets. If you go the pallet route, make sure they are marked with “HT” (Heat Treated) rather than “MB” (Methyl Bromide), because the last thing you want is to be spraying chemicals onto your garden soil.
- 3. Build the frame. If you’re using pallets, stand four of them on their edges to form a square. Use heavy-duty wood screws—not those flimsy nails that pull out the second the wood swells—to secure the corners. If you want to make it easier to get the compost out later, leave one side unattached or use a simple hinge system. A bin that is impossible to access is a bin that will eventually just become a graveyard for trash.
- 4. Line the bottom with a layer of coarse material. Before you throw in a single coffee ground, grab some small twigs, dried stalks, or even some shredded cardboard. This creates a foundation of airflow at the base. Without this air gap, the bottom of your pile will compress into a dense, slimy layer that shuts down the entire decomposition process.
- 5. Start layering your “greens” and “browns.” This is where people usually get it wrong by overcomplicating things. Think of it like a ratio: you want your nitrogen-rich “greens” (kitchen scraps, fresh grass clippings) balanced by your carbon-rich “browns” (dried leaves, shredded paper, straw). Aim for roughly three parts brown to one part green. If it starts to smell like ammonia, you have too many greens; if nothing is happening, you need more nitrogen.
- 6. Turn the pile once every couple of weeks. You don’t need to be a fanatic about it, but you do need to get oxygen into the center. Use a sturdy pitchfork to fluff the material and move the outer layers into the middle. It’s a bit of a chore, but it’s the only way to ensure the microbes stay active enough to actually turn that waste into usable gold for your garden.
The Essential Compost Bin Materials List for a Durable Build
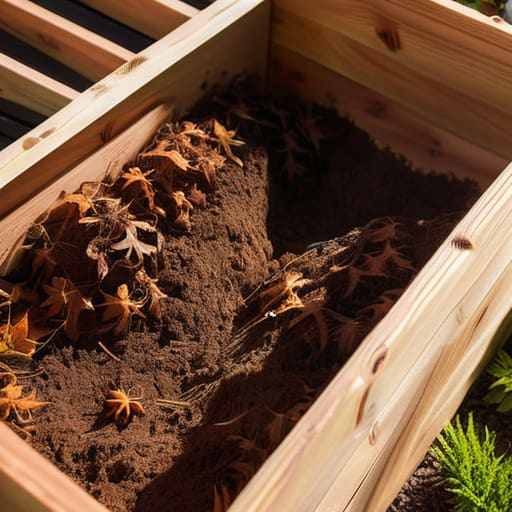
Before you head to the hardware store, let’s get one thing straight: don’t get distracted by the flashy, high-tech gadgets designed to make you feel like a “master gardener.” When I’m putting together a compost bin materials list, I look for durability and airflow, not aesthetics. You want untreated cedar or heat-treated pallets—nothing with toxic chemicals that will leach into your soil. If you’re looking at different backyard composting methods, remember that the goal is to facilitate organic waste decomposition without creating a stinking mess in your yard.
The most common mistake I see is people building something too cramped. If your dimensions are too small, you won’t retain enough heat to actually break things down efficiently. You need a volume that allows for proper aeration for compost bins; without oxygen moving through the pile, you’re just inviting a pile of rot instead of a pile of gold. Keep it simple, keep it sturdy, and buy tools that won’t fail you halfway through the build.
Choosing Backyard Composting Methods That Fit Your Real Life
Before you start hammering things together, you need to be honest about your actual living situation. I’ve seen people dive into massive, multi-tiered setups only to realize they don’t have the space or the patience to turn a heavy pile every week. If you’re working with a small suburban lot, you might want to look into a vermicomposting setup; it’s compact, efficient, and keeps the mess contained. However, if you have the yard space and want something low-maintenance, a simple stationary bin is usually your best bet.
The real trick is matching your chosen method to your daily workflow. If you hate extra chores, don’t pick a system that requires constant aeration for compost bins to keep the smell down. You want a method that integrates into your routine without feeling like a second job. Whether you’re looking at different backyard composting methods or just a small corner bin, aim for a design that actually accounts for your physical limits and the space you have available. Don’t build a solution for a problem you don’t actually have.
Three Rules to Keep Your Bin from Becoming a Nuisance
- Don’t overthink the airflow. If you build a sealed box with zero ventilation, you aren’t making compost; you’re brewing a stinking mess. Whether you’re using hardware cloth or drilling holes in cedar planks, make sure air can move through the pile. Oxygen is what keeps the process aerobic and, more importantly, keeps the smell down.
- Stick to the “Browns and Greens” ratio, but keep it simple. You need carbon (dried leaves, shredded cardboard) and nitrogen (kitchen scraps, grass clippings). If your bin looks like a slimy heap, add more dry stuff. If it’s just a pile of dead leaves that won’t break down, throw in some fresh scraps. It’s a balancing act, not a chemistry exam.
- Build for access, not just containment. I’ve seen too many people build beautiful, permanent bins that they can’t actually get anything out of without a shovel and a prayer. If you’re building a wooden bin, make sure one side is removable or has a gate. If you can’t get to the finished compost at the bottom, the whole system fails.
The Bottom Line
Don’t overcomplicate the hardware; a bin is just a vessel, and its success depends more on your willingness to turn the pile than the price tag of the materials.
Build for your specific space and schedule, because a “perfect” system you can’t maintain is just more clutter in your backyard.
Getting It Done
At the end of the day, building a compost bin isn’t about achieving some perfect, Instagram-ready garden aesthetic. It’s about choosing a method—whether it’s a simple DIY bin or a more structured pile—that actually fits into your weekly routine without becoming a chore. You’ve got your materials, you’ve got your setup, and now you just need to maintain the balance between greens and browns. Don’t overthink the science; just focus on building a reliable system that turns your kitchen scraps into something useful instead of something that just sits in a landfill.
Once the bin is built, the real work begins, but that’s where the satisfaction lies. There is a quiet kind of pride in seeing a pile of waste transform into rich, dark soil through nothing but time and a bit of effort. It’s a small, functional win for your backyard and your wallet. Stop waiting for the perfect moment or the most expensive gear to arrive. Just grab your tools, start building, and let the process do its work.
