
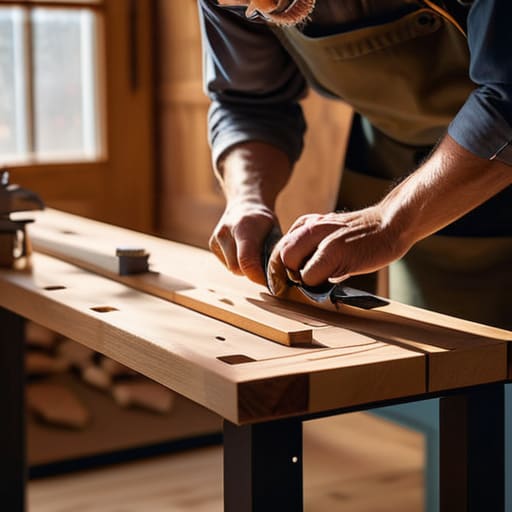
I was standing in my workshop last Tuesday, staring at a particle-board unit I’d bought from a big-box retailer three years ago, watching it slowly bow under the weight of a few heavy hardcovers. It was a pathetic sight—a clear sign that most “easy-assembly” furniture is designed to fail the moment you actually use it. Most people think learning how to build a bookshelf requires a master carpenter’s degree or a shop full of expensive, specialized machinery, but that’s just marketing noise. The truth is, you don’t need a workshop full of gadgets; you just need to understand how weight actually moves through wood.
In this guide, I’m stripping away the fluff and the “lifestyle” aesthetics to show you the mechanics of a sturdy build. I’ll walk you through selecting timber that won’t warp, mastering the joinery that keeps things square, and avoiding the common mistakes that turn a weekend project into a pile of scrap. We aren’t aiming for something that looks good in a catalog; we’re building something that actually works and stays fixed long after the trends change.
Guide Overview
Tools & Supplies
- Circular saw or hand saw for cutting wood to size
- Power drill for driving screws
- Measuring tape for accurate layout
- Sandpaper for smoothing surfaces
- Level to ensure stability
- 1×4 or 1×6 pine boards (approx. 4-5 boards)
- Wood screws (1.5 inch)
- Wood glue for joints
- Sandpaper (120 and 220 grit)
- Wood stain or paint
Step-by-Step Instructions
- 1. Start with the math, not the saw. Before you even touch a piece of wood, grab a pencil and a tape measure to map out your cut list. If you’re using standard 3/4-inch plywood, you need to account for that thickness in every single calculation, or your shelves won’t sit flush. I’ve seen too many guys skip this step only to realize halfway through that their vertical supports are uneven. Measure twice, mark once, and write it all down on a scrap piece of wood so you aren’t guessing later.
- 2. Get your lumber and make your primary cuts. If you don’t have a table saw, don’t sweat it, but make sure your circular saw is equipped with a fine-tooth finishing blade to prevent the edges from splintering. I prefer using birch plywood for a bookshelf because it’s stable and takes a finish well. Aim for straight, clean lines; if your initial cuts are crooked, the entire structure will feel “off” once it’s standing up in your living room.
- 3. Prep the joinery. For a bookshelf that actually holds weight without bowing, I’m a big fan of using pocket hole screws or simple dado joints. If you’re keeping it simple, pocket holes are your best friend—they’re fast, strong, and keep the hardware hidden on the underside of the shelves. Just make sure you’re using the right drill bit for the job. If you try to force a screw into a tight spot without a pilot hole, you’re just asking for a split in your wood.
- 4. Sanding is where the real work happens. Don’t just slap a coat of stain on raw wood and hope for the best. You need to work through the grits: start with 80 or 120 to smooth out the heavy imperfections, then move to 180, and finish with 220. I like to do a light hand-sand between coats of finish to ensure the surface is as smooth as a piece of glass. It’s tedious, but it’s the difference between a DIY project and a piece of furniture.
- 5. Assemble the carcass. Once your components are cut, sanded, and prepped, it’s time to bring them together. Use a carpenter’s square to ensure every corner is exactly 90 degrees before you tighten everything down. If the frame is even slightly skewed, your shelves will look like they’re sliding off. I usually apply a bit of wood glue to every joint; the glue is actually what provides the long-term structural integrity, while the screws are just there to hold it in place while the glue dries.
- 6. Attach the back panel. This is the step most people treat as an afterthought, but it’s actually the most critical for stability. A thin piece of 1/4-inch plywood nailed into the back of the frame prevents “racking”—that annoying side-to-side wobble that happens when a shelf isn’t properly braced. It might not look the most stylish, but it’s what keeps the unit square and prevents it from collapsing under a heavy load of hardcovers.
- 7. Final finish and placement. Once the glue is dry and the structure is solid, apply your choice of oil, wax, or polyurethane. I tend to stick with a matte oil finish because it looks natural and doesn’t feel like you’ve plastic-wrapped your hard work. Once that’s cured, move the shelf to its permanent home. If you’ve built it right, it should feel substantial and steady the moment you set your first book on it.
Essential Woodworking Tools for Beginners and Real Results
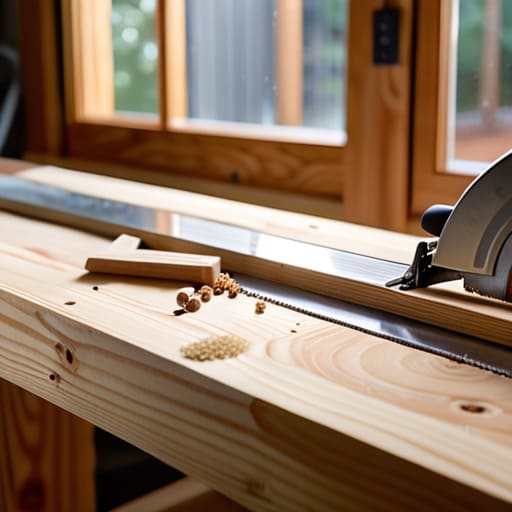
You don’t need a workshop full of expensive, shiny machinery to get this done, but you do need a few reliable pieces of kit. When I’m looking at woodworking tools for beginners, I always tell people to invest in the things that touch the wood directly. A decent circular saw and a reliable speed square are non-negotiable. If your initial cuts are off by even a fraction of a degree, you’ll spend the next three hours fighting a battle against gaps that no amount of wood filler can truly hide.
Precision matters more than power. Before you even touch a saw, spend the extra time on measuring and cutting lumber with a focus on squareness. I’ve seen plenty of people rush through the layout phase only to realize their shelves aren’t level once they start assembly. Get a solid tape measure, a sharp pencil, and a level. If you get the foundation right, the rest of the build becomes a simple matter of assembly rather than a constant exercise in damage control.
Mastering Measuring and Cutting Lumber for Sturdy Bookshelf Design
If there’s one thing I’ve learned from years of systems engineering and home renos, it’s that a project is only as stable as its foundation. In woodworking, that foundation is your precision. When you’re measuring and cutting lumber, the temptation is to rush to the saw, but that’s where mistakes become permanent. I always tell people to “measure twice, cut once,” but I take it a step further: measure three times and mark with a sharp pencil. A thick carpenter’s pencil line can throw your custom bookcase dimensions off by a sixteenth of an inch, and once you’ve made that cut, there’s no undoing it.
Accuracy during the cutting phase is what separates a wobbly piece of furniture from a sturdy bookshelf design. If your side panels aren’t perfectly square, your shelves will never sit flush, and you’ll spend the whole assembly process fighting the wood. I recommend using a high-quality speed square to verify every single angle before you even think about pulling the trigger on a saw. It’s not about being a perfectionist; it’s about minimizing the friction in the build so the final product actually holds up under weight.
Three Things Most People Screw Up (And How to Avoid It)
- Don’t skip the back panel. You might think it’s just for aesthetics or keeping dust off your books, but that thin sheet of plywood is what actually keeps the whole structure from racking and leaning to one side. Without it, your bookshelf is just a collection of sticks waiting to collapse.
- Account for the weight before you commit to the design. If you’re planning on storing heavy hardcovers or a collection of vinyl, you can’t rely on thin, cheap particle board. Use solid wood or high-quality plywood, and keep your shelf spans short enough so they don’t bow under the pressure.
- Sanding isn’t an optional luxury. It’s frustrating and it takes time, but if you don’t sand between every coat of finish, you’re going to end up with a surface that feels like sandpaper. Do the work upfront so the final product actually feels like something worth keeping in your living room.
The Bottom Line: Building for Longevity
Don’t cut corners on your joinery or your lumber; a bookshelf is only as good as the foundation it’s built on, and a cheap build just ends up as expensive firewood.
Focus on precision during the measuring phase because once the saw hits the wood, you’re committed—measure twice, cut once, and respect the material.
Getting the Job Done
At the end of the day, building a bookshelf isn’t about achieving some unattainable level of artisan perfection; it’s about the fundamentals. You’ve gone through the process of selecting the right timber, getting your measurements dialed in, and using the proper tools to ensure every joint is tight. If you focused on solid joinery and didn’t cut corners on your cuts, you already have something better than anything you’ll find in a flat-pack box. It’s that attention to the functional details that prevents the whole thing from wobbling or sagging once you actually start loading it up with your library.
Don’t let the fear of a slightly crooked edge stop you from finishing the project. The goal here is to create something that works and serves a purpose in your home. Once that dust settles and you wipe down the finished wood, you’ll realize that the real value isn’t just in the shelf itself, but in the fact that you built it yourself. Stop waiting for the perfect moment or the most expensive workshop to start. Just grab your tools, get to work, and build something that lasts.
