
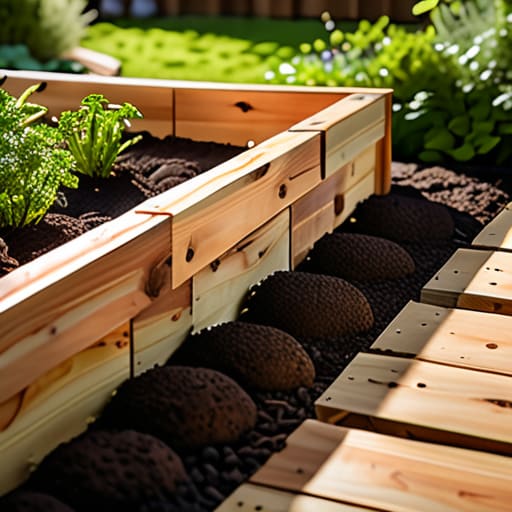
I spent three years watching my neighbors go through a cycle of buying expensive, pre-fabricated cedar kits only to watch them rot or warp into useless shapes within two seasons. It’s a classic case of paying for the packaging instead of the performance. If you want to stop wasting money on garden decor that looks good for a month and start actually growing something, you need to learn how to build a raised garden bed that is structurally sound and built to last. Forget the flashy, automated irrigation systems and the “smart” gardening gadgets; what you really need is a solid frame and a layout that respects the physics of soil and drainage.
In this guide, I’m stripping away the fluff and the overpriced nonsense to show you the functional reality of garden construction. I’ll walk you through selecting wood that won’t leach chemicals into your food, the exact way to brace your corners so they don’t bow under the weight of wet soil, and how to prep the ground so you aren’t fighting weeds for the next decade. We’re going to focus on a no-nonsense approach that prioritizes durability and ease of use, ensuring your setup works as hard as you do.
Guide Overview
Tools & Supplies
- Drill/Driver for driving screws
- Measuring Tape for accurate cuts
- Hand Saw or Miter Saw for sizing wood
- Level to ensure even ground
- Untreated Cedar or Redwood boards (approx. 3-4 pieces)
- Exterior-grade wood screws (1 box)
- Garden Soil/Compost mix (enough to fill volume)
- Hardware cloth or landscape fabric (to prevent pests/weeds)
Step-by-Step Instructions
- 1. First, you need to pick your materials, and for the love of everything functional, avoid pressure-treated wood from the old-school era that’s loaded with arsenic. I prefer cedar or redwood because they naturally resist rot without needing a chemical cocktail. If you’re on a tighter budget, untreated Douglas fir works fine, but you’ll just have to replace it a few years sooner. Just get some solid, thick boards—at least two inches thick—so they don’t warp the first time the sun hits them.
- 2. Once you have your lumber, it’s time to measure and cut. I usually aim for a 4×8 foot footprint; it’s a standard size that’s easy to manage, and more importantly, it’s short enough to reach the middle without you having to step inside and compact your soil. Use a speed square to make sure your lines are straight. If you don’t have a miter saw, don’t sweat it—most big-box hardware stores will make the heavy cuts for you for a few bucks.
- 3. Now, let’s talk assembly. You’ll need some heavy-duty exterior screws—look for the ones rated for deck construction so they don’t snap or rust out. I like to use 3-inch wood screws to join the corners. If you want this thing to actually last a decade, I highly recommend screwing some 4×4 corner posts into the inside of the frame. It gives the sideboards something substantial to bite into and keeps the whole structure from bowing outward when the soil gets heavy and wet.
- 4. Before you even think about adding dirt, find a level spot in your yard. This is where most people fail; they just plop the bed down on a slope and wonder why the water pools on one side. Use a level to check the frame, and if it’s off, dig out a little bit of earth under the high side until it sits flat. A level bed ensures your drainage works the way nature intended, rather than turning your garden into a swamp.
- 5. Next, you need to protect the ground underneath. I don’t bother with plastic liners—they just mess with the natural drainage. Instead, lay down a thick layer of uncoated cardboard at the bottom of the bed. It’s a simple, low-tech way to smother the grass and weeds currently living in your yard. As the cardboard decomposes, it actually adds a bit of organic matter to the soil, which is a win-win for your workflow.
- 6. Finally, it’s time to fill it, but don’t just buy fifty bags of cheap topsoil from the bottom shelf. That’s a recipe for a compacted mess. I follow a basic “raised bed mix” formula: about 50% high-quality compost, 30% topsoil, and 20% organic matter like peat moss or coconut coir. You want a mix that is loose, airy, and nutrient-dense. Once it’s in, give it a good soak with the hose to settle everything down, and you’re ready to plant.
Cedar vs Pressure Treated Lumber Choosing the Best Wood for Raised Beds
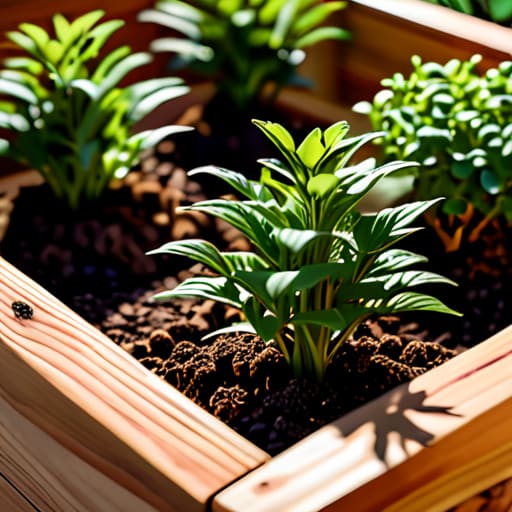
When you’re standing in the lumber aisle, you’re going to face the classic debate: cedar vs pressure treated lumber. If you ask the internet, they’ll tell you cedar is the gold standard because it’s naturally rot-resistant and doesn’t leach chemicals. It looks better, too, but you’ll pay a premium for it. If you’re on a tight budget, modern pressure-treated wood is significantly safer than the stuff they used twenty years ago, but it still lacks that organic longevity. Personally, I prefer cedar because it actually lasts without me having to worry about what’s soaking into my food.
If you decide to go the cheaper route with treated wood, I’d suggest lining the interior with some heavy-duty landscape fabric for garden beds to create a bit of a buffer. Regardless of which you pick, don’t overthink the aesthetics. The goal isn’t to win a landscaping award; it’s to find the best wood for raised beds that fits your budget and won’t fall apart after two seasons of heavy rain. Choose what works for your wallet, build it solid, and get to planting.
The Right Garden Bed Dimensions for Vegetables and Efficient Workflows
Before you start driving screws, you need to think about how you’re actually going to move in that space. I’ve seen plenty of people build massive, beautiful beds only to realize they can’t reach the middle without stepping on their plants and compacting the soil. If you want to maintain an efficient workflow, keep your width to no more than four feet. This allows you to reach the center from either side without straining your back or ruining your soil structure.
As for the length, that’s mostly up to your yard’s layout, but don’t go overboard. A bed that’s too long becomes a chore to manage. When planning your garden bed dimensions for vegetables, remember that accessibility is your best friend. If you can’t reach it comfortably, you won’t tend to it, and that’s how gardens go from productive to overgrown in a single season. Build for your reach, not just for the sake of filling space.
Three Things People Always Forget Until It’s Too Late
- Don’t skimp on the hardware. Most people grab the cheap, zinc-plated screws from a big-box store, and within two seasons, the moisture from the soil has eaten them alive. Spend the extra few bucks on high-quality, exterior-rated deck screws. It’s a small upfront cost that keeps your bed from collapsing into a pile of rot when you aren’t looking.
- Line the bottom with something substantial. If you’re building over grass or weeds, don’t just throw dirt in the box and hope for the best. Lay down a thick layer of corrugated cardboard. It’ll smother the weeds and eventually break down into organic matter, but it provides a solid enough barrier to keep the old lawn from reclaiming your garden space.
- Plan your access points before you start digging. There is nothing more frustrating than building a beautiful, functional bed only to realize you can’t reach the back corner without stepping into the soil and compacting it. If your bed is wider than four feet, you’re going to have a bad time. Keep your reach in mind so you aren’t fighting your own design every time you go to weed.
Bottom Line: Build for Longevity, Not for Likes
Don’t overcomplicate the material choice; if you can afford the cedar, buy it for the durability, but if you’re on a budget, just make sure your pressure-treated wood is modern and safe for food.
Prioritize ergonomics over aesthetics by keeping your beds narrow enough to reach the center without stepping into the soil, otherwise, you’re just building a high-maintenance obstacle course.
Getting It Done
At the end of the day, building a raised bed isn’t about having the most expensive setup or the prettiest garden on the block. It’s about making a choice that makes sense for your space and your schedule. You’ve weighed the merits of cedar versus pressure-treated wood, you’ve sized your beds so you can actually reach the center without breaking your back, and you’ve got the materials ready to go. Once you stop overthinking the perfect configuration and just focus on a solid build, the hard part is actually behind you.
Don’t let the fear of a crooked board or a slightly uneven corner stop you from getting your hands in the dirt. Gardening is a process of constant adjustment, and your first bed is just the baseline for everything that comes next. The most important thing is that you’ve built something functional that will serve you for seasons to come. So, grab your tools, get out into the yard, and start building. The dirt isn’t going to plant itself.
