
I spent three hours last Saturday hunched over my workbench, fighting with a pair of cheap, needle-nose pliers that kept slipping every time I tried to close a jump ring. I was halfway through a project I thought would be a relaxing way to unwind, but instead, I was just staring at a pile of tangled wire and a mounting sense of frustration. Most people think diy jewelry making is all about picking out pretty beads and following a colorful tutorial, but the truth is that if your hardware is garbage, your finished product will be too. You can’t build something that lasts if you’re working with tools designed to break.
I’m not here to talk about the latest aesthetic trends or which gemstone is “in” this season. My goal is to help you strip away the fluff and focus on the functional fundamentals. In this guide, I’m going to walk you through the essential, high-quality tools you actually need and the basic techniques that will ensure your pieces don’t fall apart the moment you put them on. We’re going to focus on building a solid foundation so you can spend less time fighting your materials and more time actually creating something durable.
Guide Overview
Tools & Supplies
- Needle-nose pliers for gripping and bending wire
- Wire cutters for trimming metal and cord
- Beading mat to prevent rolling
- Assorted glass or wooden beads (approx. 50-100 pieces)
- Jewelry wire or elastic cord (1-2 meters)
- Lobster clasps or crimp beads (5-10 pieces)
Step-by-Step Instructions
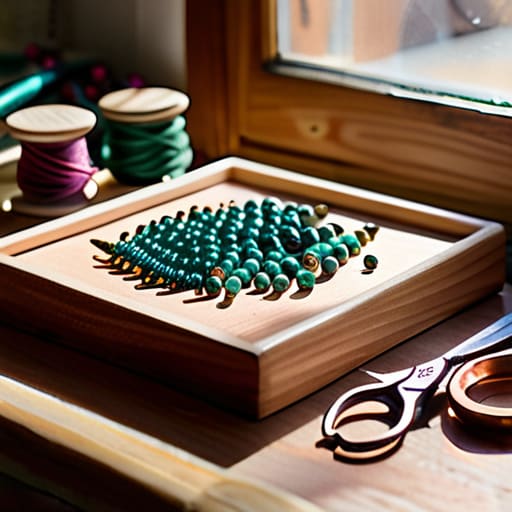
- 1. Start by clearing your workspace. You don’t need a professional studio, but you do need a flat, stable surface and a dedicated tray—a shallow wooden tray or even a felt mat works—to keep your components from rolling onto the floor. If you’re working on a carpet, you’ve already lost the battle before you’ve even started.
- 2. Sort your hardware before you touch a single bead. I’ve seen people try to build a necklace while digging through a tangled mess of wire and clasps, and it’s a massive waste of time. Lay out your findings, your beads, and your stringing material in organized piles so you aren’t hunting for a crimp bead mid-flow.
- 3. Measure your base material with intention. Whether you’re using silk thread, leather cord, or stainless steel wire, don’t just eyeball it. Use a calibrated ruler to cut your length, adding about two inches of “buffer” to each end. You’ll need that extra room to secure the ends without feeling like you’re fighting the material.
- 4. Secure your first end using a crimp bead or a knot. If you’re using wire, slide a crimp bead onto the line, loop the wire back through it, and use your flat-nose pliers to squeeze it tight. Don’t use your teeth or a pair of cheap kitchen scissors; you need a clean, mechanical compression to ensure the piece doesn’t fall apart the first time someone wears it.
- 5. String your components following a mental blueprint. I’m not a fan of “winging it” halfway through a project. Decide on your pattern—be it symmetrical or random—and work methodically from one end to the other. This prevents that frustrating moment where you realize you’re one bead short of finishing the loop.
- 6. Close the circuit with a high-quality clasp. This is the most common failure point in DIY jewelry, so don’t skimp here. Attach your jump rings to the clasp, ensuring the loop is completely closed with no visible gaps. A gap in a jump ring is just an invitation for your hard work to end up in a drain or a crack in the sidewalk.
- 7. Perform a stress test. Before you call it finished, give the piece a firm, steady tug at multiple points. You’re looking for any weak links or loose crimps. If it holds up to a practical tension test, you’ve built something that actually functions, rather than just something that looks good in a photo.
Essential Bead Supplies That Wont Break Your Bank
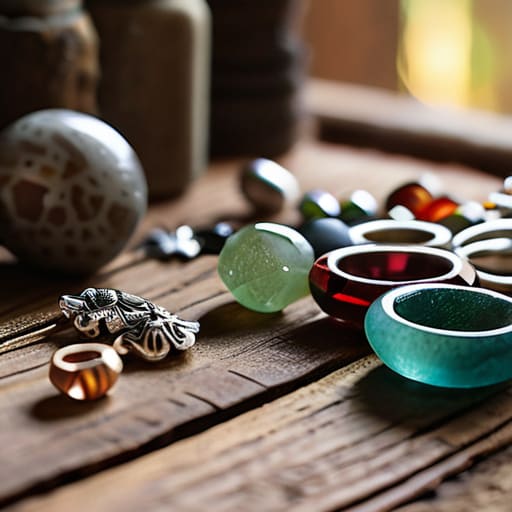
Look, you don’t need a massive, overpriced kit to start crafting handmade accessories. Most of those “all-in-one” starter sets you see online are just a way to charge you a premium for mediocre quality. If you want to actually make something that doesn’t fall apart after two wears, focus your budget on essential bead supplies that have some weight to them. I always suggest starting with a decent variety of glass or semi-precious stone beads rather than a mountain of cheap plastic. The plastic ones tend to chip or lose their color, which is a waste of your time and your money.
When you’re looking at jewelry making tools for beginners, remember that durability beats quantity every single time. I’d rather have one solid pair of chain-nose pliers that actually grips the wire than a dozen flimsy ones that slip and frustrate you. You can pick up a few high-quality glass bead strands and a spool of decent-grade wire, and you’ll have more than enough to experiment with different styles. Build your inventory slowly, piece by piece, as you learn what you actually enjoy making.
Jewelry Making Tools for Beginners Who Value Durability
Look, I’ve spent enough time fixing broken systems to know that a project is only as good as the hardware you use to build it. When you’re first starting out with jewelry making tools for beginners, the temptation is to buy those cheap, multi-piece kits you see in colorful cardboard boxes at big-box retailers. Do yourself a favor and skip them. Those pliers have handles that slip and cutters that crush your wire instead of slicing it. You’ll end up frustrated, staring at a pile of mangled metal, wondering why your project isn’t coming together.
Instead, I recommend investing in a basic trio of high-quality needle-nose pliers, round-nose pliers, and a decent pair of flush cutters. If the tool feels heavy and balanced in your hand, it’s usually a good sign. It might cost a bit more upfront, but properly tensioned tools will save you hours of headache as you refine your jewelry making techniques. It’s better to own three pieces of equipment that actually work than a dozen cheap ones that fail the moment you apply real pressure.
Three Ways to Avoid the "Cheap Craft" Look
- Stop buying those bulk mystery packs of beads from the big-box retailers. They look inconsistent under real light, and the coatings flake off after two wears. If you want your work to actually hold up, buy your components in small, high-quality batches. It’s better to have ten beautiful, uniform stones than a bucket of plastic junk that makes your finished piece look like a middle school art project.
- Master your tension before you start stringing. I see a lot of people rushing through the assembly, only to find their bracelets are either too loose to stay on or so tight they snap the moment someone moves their wrist. Treat it like any other mechanical assembly: check your tolerances, test the movement, and don’t force a fit that isn’t there.
- Invest in a decent pair of wire cutters, not the kind you find in a bargain bin. There is nothing more frustrating than getting halfway through a design only to have a cheap cutter crush the wire instead of slicing it cleanly. A clean cut means less filing and less chance of a jagged edge catching on someone’s skin. Do it right the first time so you don’t have to redo it.
The Bottom Line on Building Your Kit
Don’t get distracted by those massive, cheap starter sets on social media; it’s better to own three solid, heavy-duty tools that actually grip than twenty flimsy ones that bend the moment you apply pressure.
Focus your budget on the components that touch the skin—high-quality clasps and wires—because if the structural integrity fails, the most beautiful beads in the world won’t matter.
Getting to Work
At the end of the day, jewelry making isn’t about having the most expensive collection of beads or the flashiest setup you saw on social media. It’s about the fundamentals: getting a decent set of tools that won’t fail you mid-project and sourcing materials that actually hold up over time. I’ve learned through plenty of failed DIY attempts that if you skip the quality basics, you’re just wasting your time and money. Focus on the durable essentials first. Once you have a reliable foundation, the rest of the noise starts to fade away, leaving you with a process that actually functions smoothly.
Don’t get paralyzed by the idea that your first few pieces need to be museum-quality. Perfection is a moving target, and honestly, it’s a distraction from the real work. Just pick up the pliers, grab some wire, and start building something. The goal isn’t to chase every passing aesthetic; it’s to develop a skill that lasts. There is a quiet kind of satisfaction in looking at something you made with your own hands and knowing it was built to stand the test of time.
