
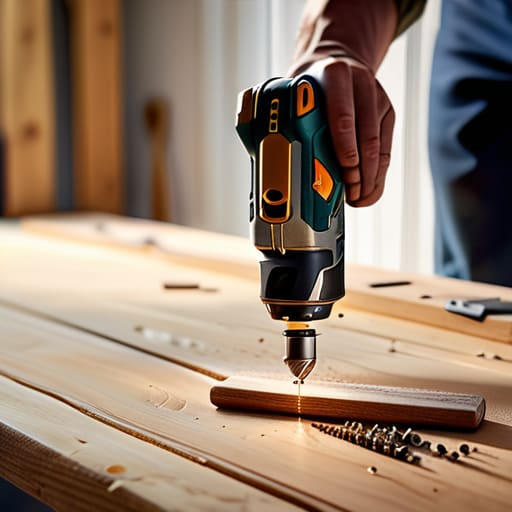
I was halfway through hanging a heavy floating shelf in my guest room when the drill bit skipped, gouging a jagged, ugly scar right through the finish of the wood. I stood there, staring at the ruined grain, realizing that I’d been approaching the tool with a “just pull the trigger” mentality instead of actually understanding the mechanics of the task. Most people think learning how to use a drill is just about having enough battery life and a steady hand, but that’s a dangerous misconception. If you don’t respect the torque and the physics behind the bit, you aren’t building anything—you’re just making expensive mistakes.
I’m not here to sell you on a $500 specialized kit or some high-tech gadgetry that promises to do the work for you. In this guide, I’m going to show you the fundamental, no-nonsense mechanics of steady drilling, from selecting the right bit to managing your pressure so you don’t strip your hardware. We’re going to focus on the stuff that actually matters: precision, control, and making sure your projects stay fixed long after the hype of the DIY video wears off.
Guide Overview
Tools & Supplies
- Power Drill (Cordless or corded drill)
- Drill Bits (Set of wood, metal, or masonry bits)
- Safety Glasses (1 pair)
- Workpiece (1 piece of wood, metal, or plastic)
Step-by-Step Instructions
- 1. Before you even touch the trigger, you need to pick the right bit for the job. I’ve seen too many people try to force a wood bit into metal or use a blunt masonry bit on drywall, and it always ends in a stripped screw or a broken tool. Check the tip of the bit; if it’s meant for wood, it should have a sharp point, and if it’s for metal, it should look like a small, sturdy cylinder. Match your bit to your material or you’re just asking for a headache.
- 2. Once you’ve got the right bit, it’s time to get it into the chuck. Most modern drills have a keyless chuck, which means you just twist the sleeve by hand to tighten it. Don’t just wing it, though—grip the bit firmly and twist until it’s dead center and won’t budge. If it wobbles even a little bit, your hole is going to be crooked and your project is going to suffer.
- 3. Now, let’s talk about the settings. There’s a clutch ring right behind the chuck that looks like it’s just for show, but it’s actually the most important part of the tool. If you’re driving screws, turn that ring to a lower number so the drill stops spinning once the screw hits a certain resistance. This prevents you from stripping the screw head or burying it too deep into your workpiece.
- 4. Mark your spot. I don’t care how good your aim is; never trust your eyes alone. Use a pencil or a center punch to make a small indentation exactly where you want the hole to go. This little divot acts as a guide for the bit, preventing it from skating across the surface when you first apply pressure, which is how most accidental scratches happen.
- 5. Get into position and find your stance. Hold the drill with both hands if you can—one on the grip and one on the back or the side handle. You want to apply steady, even pressure directly into the material. Don’t lean your entire body weight on it; instead, focus on a firm, controlled push. If you feel the drill fighting you, back off the pressure and let the bit do the work.
- 6. Start slow. When you pull the trigger, don’t immediately floor it. Start with a light squeeze to get the bit biting into your mark. Once you feel the bit has established its path, you can gradually increase the speed. If you’re working with something tough like hardwood or masonry, patience is your best friend here. Speeding through a hole usually leads to burnt wood or a snapped bit.
- 7. Pull the bit out while it’s still spinning. This is a small detail that people constantly overlook. If you stop the drill and then try to pull the bit out of a deep hole, the debris—the sawdust or the stone dust—will clog the flutes of the bit and make it incredibly difficult to extract. Pulling it out while it’s still rotating helps clear the debris and keeps your bit clean for the next round.
Choosing Your Weapon Cordless vs Corded Drill Realities
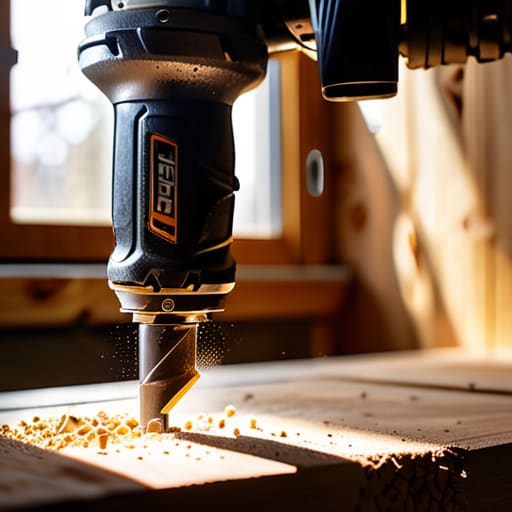
Look, you’ll see a million ads for the latest high-torque, brushless cordless models, and while they’re impressive, they aren’t always the right tool for the job. If you’re doing a quick hang on a cabinet or a light repair, a cordless setup is king because of the mobility. But if you’re tackling a heavy-duty renovation where you’re drilling into wood and metal all day long, don’t underestimate the raw, consistent power of a corded unit. Batteries die when you’re in the middle of a critical task, and nothing kills a project’s momentum faster than a dead cell and a half-finished hole.
That said, the real distinction comes down to your specific workflow. For most DIYers, the versatility of a cordless drill outweighs the tethered power of a corded one, provided you invest in a decent battery platform. Just remember that power isn’t everything; you need to be mindful of adjusting drill torque settings to avoid stripping heads or snapping bits. It’s not about having the most expensive gear in the shed—it’s about having the right amount of control for the task at hand.
Mastering Drill Bit Types and Uses for Every Job
Most people grab the first bit they see in a plastic organizer and hope for the best. That’s a quick way to ruin a project or snap a bit halfway through. If you’re drilling into wood and metal, you can’t treat them the same. For wood, a standard twist bit or a brad point bit will give you a clean hole without splintering the grain. But if you try to force a wood bit into steel, you’re just going to burn it out in seconds. You need high-speed steel (HSS) for metalwork, and you need to respect the material.
Before you pull the trigger, pay attention to your machine. Adjusting drill torque settings isn’t just for driving screws; it’s about control. If you’re working on something delicate, dial that clutch down so you don’t strip the head or crack the surface. And for heaven’s sake, if you’re switching tasks, take the time to learn how to change a drill bit properly. Don’t just jam it in; ensure it’s seated firmly in the chuck. It’s a small habit, but it’s the difference between a professional finish and a frustrating mess.
Three Rules to Keep You from Ruining Your Project (or Your Hands)
- Stop leaning into it like you’re trying to crush a walnut. Most people think more pressure equals better results, but that’s how you snap a bit or strip a screw head clean off. Let the tool do the heavy lifting; your job is just to provide steady, controlled guidance.
- Mark your spot twice and drill once. I’ve seen plenty of guys try to “eyeball” a pilot hole, only to have the bit wander off into the wood and ruin the finish. Use a center punch or even a sharp nail to create a tiny divot before you pull the trigger. It gives the bit a place to live so it doesn’t dance around.
- Watch your speed, especially when you’re finishing a hole. If you go full throttle right until the end, you’re going to blow out the back of the material and leave a mess that’s a pain to sand down. Ease off the trigger as you reach the exit to keep the wood clean and the job professional.
The Bottom Line
Stop treating every screw like it’s the same; match your bit to the material and your drill to the task, or you’ll just end up stripping heads and wasting money on replacements.
Reliability beats flashy features every time—focus on mastering the fundamentals of torque and pressure so your projects actually stay together long after you’ve put the tools away.
Putting the Tool to Work
At the end of the day, mastering a drill isn’t about owning the most expensive brushless motor on the market or having a collection of every bit imaginable. It comes down to the basics: picking the right bit for the material, understanding your power source, and maintaining a steady, controlled hand. If you take the time to match your hardware to the task and respect the physics of the material you’re working with, you’ll avoid the most common mistakes that lead to stripped screws or ruined wood. Focus on the fundamentals of precision rather than the speed of the rotation, and your projects will stand the test of time.
Don’t let the fear of making a mistake keep you from starting that project sitting in your garage. Every expert I know started with a crooked hole and a bit of frustration. The real skill isn’t found in a manual; it’s built through consistent, hands-on practice. Once you stop overthinking the gear and start trusting your intuition, you’ll realize that a drill is more than just a tool—it’s the gateway to actually fixing things yourself. Get out there and build something that lasts.
