
I was sitting in my living room last February, shivering under a wool blanket and staring at my utility bill, when I realized I was fighting a losing battle. I’d spent three hundred bucks on a “smart” thermostat thinking it would optimize my heating, but it didn’t matter how much intelligence the device had if I was essentially heating the entire neighborhood. The real culprit wasn’t the HVAC settings; it was the draft cutting through my front entryway like a knife. Most people think they need a massive renovation or a new door to fix a cold house, but the truth is that weatherstripping a door is often the only fix that actually matters.
I’m not going to sell you on some overpriced, high-tech foam kit that falls apart in six months. In this guide, I’m going to show you how to identify exactly where the air is escaping and which materials will actually hold up over time. We’ll skip the fluff and get straight to the tools and techniques you need to seal your home properly. Let’s get to work and stop letting your hard-earned money blow out through the cracks.
Guide Overview
Tools & Supplies
- Measuring tape for determining door dimensions
- Utility knife for trimming excess material
- Screwdriver for securing door sweeps or jamb kits
- Weatherstripping material (adhesive foam, V-strip, or rubber)
- Door sweep (if installing at the bottom)
- Cleaning solution and cloth to prep the surface
Step-by-Step Instructions
- 1. Before you even think about buying anything at the hardware store, you need to find where the air is actually escaping. Grab a heavy flashlight and a piece of incense or a candle on a windy day. Close the door and run the flame or smoke along the edges of the frame; if the smoke dances or gets blown sideways, you’ve found your leak. It’s better to spend twenty minutes troubleshooting now than two hours installing the wrong materials later.
- 2. Once you know the problem areas, you have to clean the damn surfaces. Most people skip this and wonder why their expensive adhesive strips peel off in three weeks. Use a damp cloth with a bit of mild soap to wipe down the door stops and the door itself, then follow up with a quick pass of rubbing alcohol. You want the surface bone-dry and free of any construction dust or old wax, otherwise, nothing is going to stick.
- 3. Now, pick your weapon. If you have large gaps, go with a thick foam tape or a rubber bulb seal. If the gap is tight and consistent, a V-strip (tension seal) works wonders. Don’t get distracted by the “premium” kits that promise magic results; just buy what fits the gap you measured. If the seal is too thick, the door won’t latch; if it’s too thin, you’re just wasting your time.
- 4. Start applying the stripping at the top of the door and work your way down. I find it’s easiest to do this with the door slightly ajar so you aren’t fighting the weight of the door while trying to be precise. Peel the backing off slowly and press the strip firmly into place. Don’t just skim it on; give it a firm, continuous press to ensure the adhesive makes full contact with the frame.
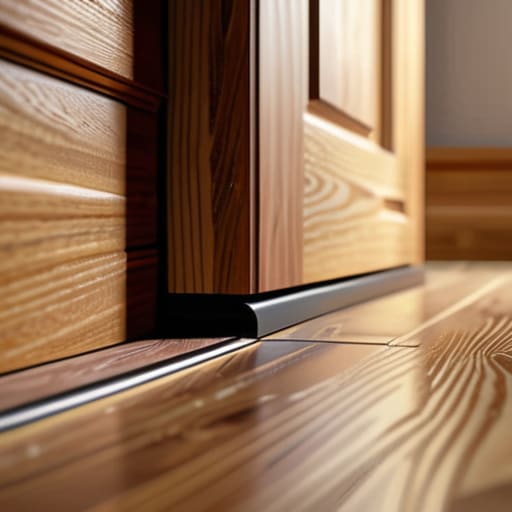
- 5. Pay extra attention to the bottom of the door—this is where most of your heat loss is happening. If the gap is significant, skip the flimsy tape and install a proper door sweep. You can get screw-on versions that are much more durable than the adhesive ones. It’s a bit more work to line it up, but it’s the only way to ensure you aren’t throwing money out of the bottom of your entryway every time the wind picks up.
- 6. Once everything is installed, perform a “light test.” Close the door and look for any slivers of light peeking through the edges. If you see light, you have a gap. You can either add another layer of thin foam or, if you’re feeling ambitious, re-adjust the strike plate on the door frame to pull the door tighter against the new seals.
- 7. Finally, give the door a few solid slams—not enough to break anything, but enough to make sure the latch still engages without you having to shoulder it shut. If the door is sticking or hard to close, your seals are too thick. If it still closes easily but you feel a breeze, they’re too thin. It’s all about finding that sweet spot where the seal is tight but the door still functions like a door.
Choosing the Right Types of Weatherstripping Materials for Longevity
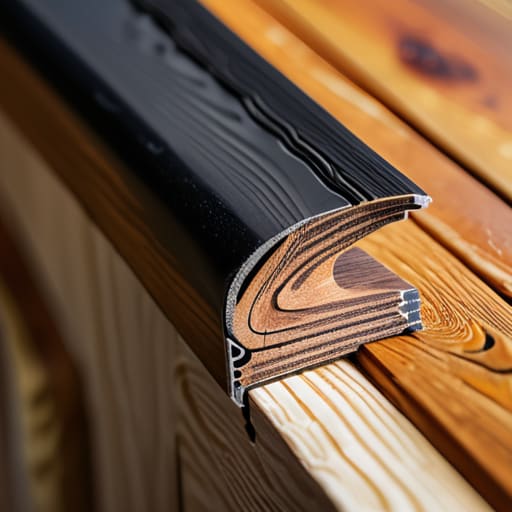
Look, don’t just grab the first roll of foam you see at the big-box store because it’s cheap. Most of that thin, adhesive foam is garbage; it’ll compress, crack, and lose its shape within a single season. If you want to actually get this done once and forget about it, you need to look at the different types of weatherstripping materials based on where they’re sitting. For the sides and top of the frame, I usually lean toward silicone or high-quality EPDM rubber. They have enough “bounce” to maintain a seal even as the house settles, and they won’t turn into brittle flakes when the sun hits them.
The real battleground, though, is the floor. Most people overlook the gap at the base, but that’s where your heat is actually escaping. If you’re looking at door bottom seal installation, skip the flimsy brush strips if you have a significant gap. Go with a heavy-duty sweep or a solid U-shaped threshold seal. It’s the difference between a temporary fix and actual energy efficient door sealing that holds up when the wind starts howling. Invest in the better material now; it’s a lot less work than stripping old, dried-out junk off your jambs next summer.
Mastering Door Jamb Weatherstripping Tips to Stop the Leaks
When you’re working on the jambs, the biggest mistake I see is people being too timid with the application. If you just slap the strip on and hope for the best, you’re going to be back at the hardware store next week. You need to ensure the seal actually compresses when the door closes. I always recommend doing a light test—shut the door on a piece of paper; if you can pull that paper out without resistance, your seal isn’t doing its job. These little door jamb weatherstripping tips might seem pedantic, but they are the difference between a drafty hallway and a house that actually holds its temperature.
Don’t forget that the sides are only half the battle. Even if your jambs are airtight, you’re still losing heat if there’s a gap at the floor. I’ve seen plenty of folks spend hours on the frame only to ignore the bottom. Proper door bottom seal installation is the final piece of the puzzle. If you don’t address that gap, you’re essentially leaving the window open. Treat the door as a complete system, not just a collection of parts, and you’ll actually see the results in your utility bill.
Three things people usually screw up when sealing a door
- Stop over-compressing the seal. I see people jam thick foam into every crack thinking more is better, but if you compress it too hard, the material loses its “memory” and won’t spring back. You want a snug fit that creates a seal, not a crushed piece of rubber that stays flat forever.
- Clean the surface like you actually mean it. If you slap adhesive stripping onto a layer of old dust or oily residue, it’s going to peel off in a week. Grab some isopropyl alcohol and a rag, wipe the jamb down, and let it dry completely before you even think about sticking anything to it.
- Check your threshold alignment before you buy anything. A door that’s sagging or misaligned is a mechanical problem, not a weatherstripping problem. If the door doesn’t hit the frame consistently, no amount of fancy silicone is going to stop that draft; fix the hinge or the strike plate first.
The Bottom Line
Don’t get distracted by the expensive, high-tech gadgets; if you stop the air from leaking through the gaps in your door frame, you’ve already won half the battle.
Invest in quality materials once rather than buying cheap foam that crumbles in six months—fix it right the first time so you don’t have to do it again.
Cutting the Drafts for Good
At the end of the day, weatherstripping isn’t some complex engineering feat; it’s just about closing the gaps that are currently working against you. We’ve covered everything from picking the right materials that won’t crumble in six months to the actual application on your jambs. If you’ve done the work properly, you shouldn’t feel that sudden chill when you walk past the entryway. Remember, the goal isn’t to have the most expensive setup on the block, but to ensure your home is actually efficient and your energy bills stay predictable. Don’t skip the prep work, because a clean surface is the difference between a seal that lasts years and one that peels off by next Tuesday.
It’s easy to get overwhelmed by the sheer amount of “smart home” tech designed to save you a few bucks, but real efficiency usually comes down to these small, manual wins. Fixing a drafty door is a perfect example of solving the root cause rather than treating the symptoms. Once you get these basics dialed in, you’ll realize that a well-maintained home isn’t built on gadgets, but on the fundamentals. Get it done right once, and you can stop worrying about it and get back to the things that actually matter.
