
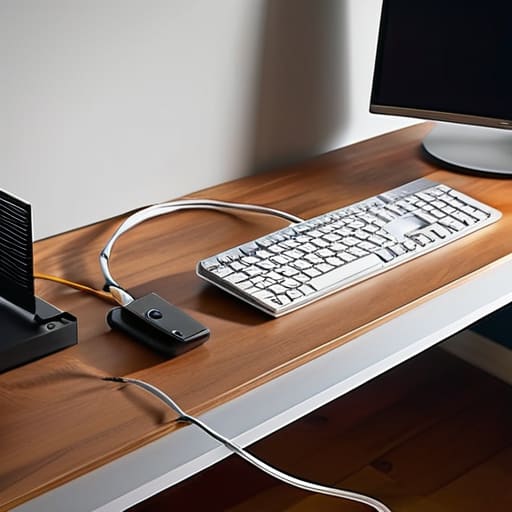
I was elbow-deep in the guts of a 1978 Roland Juno last Tuesday, trying to trace a signal path, when I realized my own workbench looked like a bird’s nest of tangled black spaghetti. It’s the same story I see every time I consult for a new office: people spend a fortune on “designer” desk organizers only to have them fail the moment they try to move a single monitor. Most people think cable management diy is about making your desk look like a Pinterest board, but the truth is much simpler. It’s about creating a system that doesn’t fight you every time you need to plug in a new piece of gear.
I’m not here to sell you on expensive, aesthetic cable sleeves that crack after three months of heat exposure. Instead, I’m going to show you how to build a rugged, low-maintenance setup using basic hardware store supplies and some fundamental systems engineering principles. We’re going to focus on functional organization—using heavy-duty Velcro, strategic mounting, and logical routing—so you can stop fighting your wires and actually get back to work.
Guide Overview
Tools & Supplies
- Scissors or wire cutters for trimming ties
- Label maker or masking tape for identification
- Velcro cable ties (1 pack)
- Cable management sleeves or raceways (2-3 units)
- Adhesive cable clips (1 pack)
- Power strip (1 unit)
Step-by-Step Instructions
- 1. First, you need to do a complete audit of the mess. Pull everything out from behind the desk. It sounds tedious, but if you try to organize around existing tangles, you’re just rearranging the chaos. Group your cables by function—power, data, and peripherals—and toss anything that’s frayed, bent at a sharp angle, or clearly belongs to a device you haven’t used since 2014.
- 2. Next, grab some heavy-duty Velcro ties. I’m talking about the rolls you can cut to size, not those flimsy plastic zip ties that you have to cut off with a knife later. Bundle your cables into logical groups based on where they’re heading. If three cables are going to the same monitor, tie them together into one single “trunk.” It makes the whole setup look cleaner and significantly easier to troubleshoot when something stops working.
- 3. Now, address the power situation. Stop using cheap, thin extension cords that look like they belong in a dorm room. Get a high-quality, industrial-grade power strip with a long cord and plenty of spacing between the outlets. Mount this strip to the underside of your desk using heavy-duty mounting tape or screws. If the power source is off the floor, you’ve already won half the battle against dust bunnies and tripping hazards.
- 4. For the “trunk” of cables running down the desk leg, use some rigid cable raceways or even simple J-channels. You want to hide the bulk of the wiring so it isn’t dangling in mid-air. If you’re on a budget, a simple piece of slotted conduit from the hardware store works just fine. The goal isn’t to make it look like a professional studio; it’s to make it look intentional and controlled.
- 5. Don’t forget about cable strain relief. If a cable is hanging heavily from a device, it’s going to eventually pull on the internal connection and cause a failure. Use a small adhesive clip or a loop of Velcro to anchor the cable to the desk or the mount. You want the weight of the cord to be supported by the furniture, not by the delicate port on your expensive laptop.
- 6. Finally, label everything. I know, it feels overkill, but when you’re crawling under a desk six months from now trying to find the specific power lead for your printer, you will thank your past self. Use a simple label maker or even just a piece of masking tape and a Sharpie. Mark both ends of the cable if you can. It’s about building a system that is functional for the long haul, not just something that looks good for a photo.
Proven Under Desk Cable Management Solutions That Last
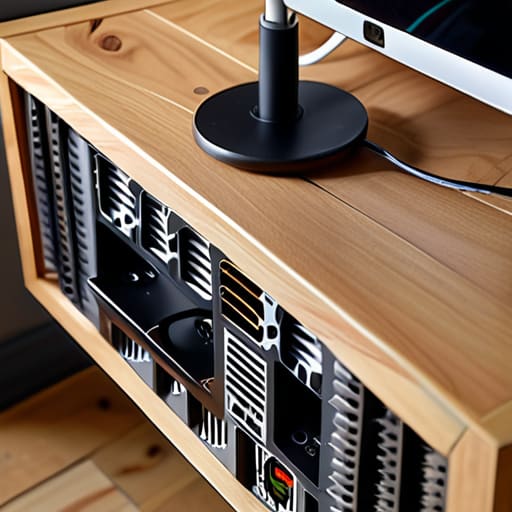
Look, most of the “aesthetic” setups you see on social media are a nightmare to maintain. If you want something that actually holds up, skip the cheap plastic clips that snap off the moment you move your desk. I’ve found that the most reliable under desk cable management solutions involve building a foundation first. I usually mount a heavy-duty metal wire basket or a simple wooden tray directly to the underside of the desk. This gives you a dedicated “catch-all” for your power strips and bulky bricks, keeping them off the floor where they just collect dust and become trip hazards.
Once you have that tray in place, don’t overcomplicate the routing. I’m a firm believer in using velcro straps for cables rather than those single-use plastic zip ties. Zip ties are fine for a permanent installation in a server room, but in a home office, you’re eventually going to want to swap out a monitor or add a new lamp. Velcro lets you adjust things on the fly without needing to hunt for wire cutters. It’s about building a system that is flexible enough to evolve with your gear, rather than one that forces you to tear everything apart every time you upgrade your tech.
Mastering Cord Management for Home Office Workflows
When you’re looking at cord management for home office setups, most people make the mistake of treating it like a one-time cleanup task. It isn’t. If you want a system that survives a hardware upgrade or a new monitor, you have to design for future accessibility. I always tell my clients to leave a little “slack loop” at the end of your primary connections. If you tension everything too tight just to make it look pretty, you’re going to end up straining a port or a connector the next time you need to move your desk an inch to catch the light.
Instead of trying to bury everything behind a wall of plastic, focus on smart cable routing techniques that prioritize logical grouping. Group your power cables separately from your data lines to minimize interference, and use those heavy-duty Velcro ties I mentioned earlier to bundle them by function. It’s much easier to troubleshoot a connection when you aren’t digging through a “spaghetti monster” of wires. The goal isn’t just hiding computer wires; it’s creating a modular system where you can swap a component in under sixty seconds without a complete meltdown.
Three Rules to Keep Your Setup from Becoming a Rat's Nest
- Stop buying those cheap, plastic snap-on clips that lose their grip after two weeks. If you want something that actually stays put, go with heavy-duty adhesive Velcro strips or even a bit of industrial-strength mounting tape. If it’s going to be under tension or holding a heavy power brick, it needs to be anchored, not just “tucked away.”
- Group your cables by function, not just by where they sit. I always separate my high-voltage power cables from my data lines (like Ethernet or USB). It’s not just about being tidy; it’s about preventing electromagnetic interference that can mess with your signal. Keep the “juice” on one side and the “data” on the other.
- Leave yourself some slack—and I mean actual, usable slack. One of the biggest mistakes I see is people tensioning their cables so tight that they look “clean,” but the moment you need to slide your desk out to clean or move a monitor, you’re going to snap a port or pull a connection loose. Build in a little loop; it’s better to have an extra inch of cord than a broken $200 peripheral.
The Bottom Line on a Functional Setup
Stop buying overpriced, decorative cable kits that look good for a week; invest in heavy-duty Velcro ties and solid mounting hardware that you can actually adjust when you add new gear.
Prioritize accessibility over perfection—build a system that keeps the floor clear, but make sure you can still reach your plugs without having to dismantle your entire desk every time a power strip fails.
Getting It Right for the Long Haul
At the end of the day, cable management isn’t about making your desk look like a sterile showroom in a tech magazine. It’s about creating a system that doesn’t fight you every time you need to swap out a monitor or move a laptop. We’ve covered everything from using heavy-duty Velcro instead of those cheap plastic clips to building out under-desk trays that actually hold the weight of your power bricks. The goal is to move away from temporary fixes and toward a setup that relies on durable, accessible hardware. If you build it right the first time, you won’t be spending your Sunday afternoons untangling a bird’s nest of wires just because you wanted to plug in a new lamp.
Don’t let the sheer volume of cords intimidate you. Just approach it like any other project: break it down, use the right tools, and focus on function over fashion. A clean workspace is a quiet workspace, and a quiet workspace lets you actually focus on the work that matters. Once you get this sorted, you’ll realize that a little bit of upfront effort pays massive dividends in your daily mental clarity. Get it done, get it organized, and then get back to what you actually do best.
