
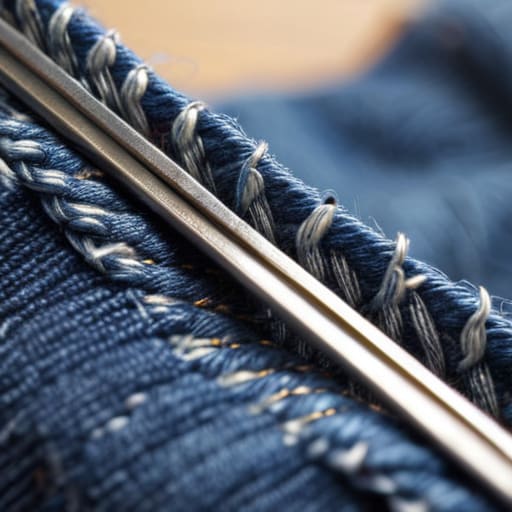
I was halfway through a Saturday morning project in the garage when I felt that familiar, cold draft against my thigh, and I knew immediately that my favorite pair of heavy-duty denim had finally given up the ghost. Most people see a blowout like that and think the garment is headed straight for the donation bin, but that’s just a waste of good fabric. Learning how to patch jeans isn’t about making them look brand new again; it’s about reinforcing the structural integrity so they can handle another five years of real work.
I’m not going to bore you with fancy embroidery techniques or “aesthetic” DIY trends that fall apart after one wash. Instead, I’m going to show you the straightforward, mechanical way to fix a hole using tools you likely already have in your kit. We’re going to focus on selecting the right scrap material and using a stitch pattern that actually holds under tension. This is about building gear that lasts, not following a fad.
Guide Overview
Tools & Supplies
- Needle and thread or sewing machine for joining fabric
- Fabric scissors for trimming edges
- Pins to hold patch in place
- Denim scrap or fabric patch 1 piece
- Thread matching denim color 1 spool
- Iron for flattening seams 1 unit
Step-by-Step Instructions
- 1. First, clear your workspace and gather your gear. You don’t need a fancy sewing kit, but you do need a pair of heavy-duty scissors, some denim scrap (an old pair of jeans that are beyond saving works best), and a needle that won’t snap under pressure. I always keep a small tin of specialized sewing needles in my workshop because nothing kills a project faster than a bent piece of steel.
- 2. Assess the damage and prep the area. Don’t just start sewing immediately; you need to trim away any loose, fraying threads that are circling the hole. If you leave those dangling bits, they’ll just pull at your new patch and create a messy blowout later on. Aim for a clean edge around the perimeter of the tear.
- 3. Cut your patch material. Lay your denim scrap over the hole and cut a piece that extends at least an inch beyond the edges of the tear in every direction. If you’re working on a high-stress area like the knee, I’d suggest making the patch a bit larger to ensure the structural integrity of the repair holds up when you’re moving around.
- 4. Position the patch and pin it down. Place the scrap underneath the hole so the “good” side of the patch is facing the inside of the jeans. Use safety pins to hold it in place—this prevents the fabric from shifting while you’re trying to focus on your stitches. If the fabric is particularly thick, don’t be afraid to use a few extra pins to keep everything flush.
- 5. Start your stitching. If you’re doing this by hand, a tight running stitch or a whip stitch is your best bet. If you have a sewing machine, use a heavy-duty denim needle and a straight stitch. I prefer a slightly irregular hand-stitch for older jeans because it looks more authentic and less like a factory error, but the goal is coverage, not perfection.
- 6. Reinforce the perimeter. Once you’ve gone around the edges, go back over the most stressed areas with an extra pass of thread. You want to make sure the patch is integrated into the original fabric, not just sitting on top of it like a band-aid. A solid connection is the difference between a repair that lasts a month and one that lasts a decade.
- 7. Trim the excess and test the tension. Cut away any long thread tails, but leave about half an inch so you can tie off your knots securely. Put the jeans on and do a few squats or lunges. If you feel any pulling or see the thread straining, go back and add a few more stitches to the weakest points before you call the job finished.
Mastering the Darning Technique for Jeans That Actually Last
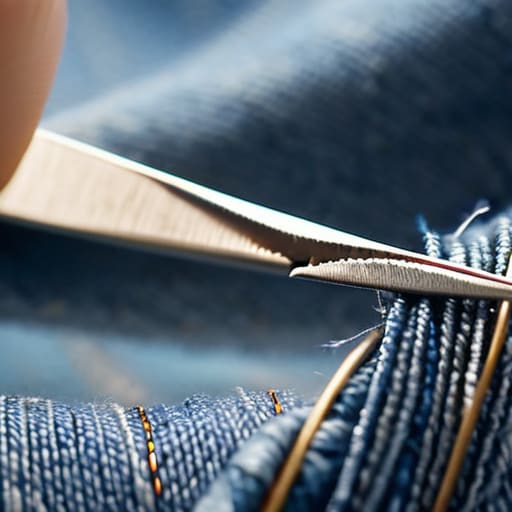
If you’re looking for a fix that won’t just peel off after three washes, you need to move past the cheap iron-on denim patches. They’re fine for a quick cosmetic fix, but they lack the structural integrity required for real work. Instead, I recommend mastering the darning technique for jeans. This isn’t about hiding the damage; it’s about reinforcing the area by weaving thread back and forth across the hole to create a new, stable fabric. It takes a bit more patience, but it creates a repair that is arguably stronger than the original weave.
To get this right, don’t just eyeball it. I usually grab some leftover denim fabric scraps from an old pair of work pants to use as a base layer underneath the hole. This gives your needle something solid to bite into. When you’re selecting your gear, make sure you’re using a heavy-duty sewing needle and thread for denim; anything thinner will snap under the tension of the repetitive stitching. If you lean into these visible mending techniques, you aren’t just fixing a garment—you’re engineering it to endure another decade of use.
Choosing the Right Sewing Needle and Thread for Denim
Look, if you try to tackle this with a standard spool of all-purpose polyester and a flimsy needle from a cheap travel kit, you’re going to have a bad time. Denim is a heavy, structural weave, and it’ll snap a weak needle faster than you can say “rip.” You need to grab a heavy-duty denim needle—something in the 90/14 or 100/16 range—to ensure you can actually pierce those thick seams without the needle bending or breaking mid-stitch.
As for the thread, skip the thin stuff. I usually reach for a thick cotton or heavy-duty polyester thread that can stand up to the tension of a repair. If you’re leaning into visible mending techniques, you might even want to use a contrasting color to make the repair look intentional rather than like a mistake. Just remember: the goal isn’t just to close the gap, but to create a bond that’s actually stronger than the original fabric.
Three Pro-Tips to Keep Your Patches from Failing
- Don’t skip the ironing. If you try to sew over wrinkled or bunched-up denim, your stitches are going to be uneven and weak. Lay the fabric flat and press it crisp before you even touch a needle; it makes the whole process feel less like a struggle and more like actual work.
- Match the weight, not just the color. It’s a common mistake to grab a lightweight thread because it’s easier to pull through, but if you’re working on heavy-duty denim, you need a thread that can handle the tension. If the thread is too thin, it’ll snap the first time you sit down or bend your knee.
- Reinforce the edges. Most patches fail because the tension pulls at the perimeter of the repair. When you’re stitching, make sure you’re anchoring your thread well into the healthy fabric surrounding the hole, not just hovering right at the edge of the fray. You want that patch to become part of the garment, not just a sticker slapped on top.
The Bottom Line on Keeping Your Gear in Rotation
Don’t wait for a blowout to act; catch small fraying early with a quick darning stitch to prevent the whole seam from giving way when you’re actually busy.
Skip the cheap, flimsy thread—invest in heavy-duty polyester or waxed cotton that can actually handle the tension of denim, or you’ll just be re-doing the same work next week.
Making It Last
At the end of the day, patching your jeans isn’t about perfection; it’s about functional maintenance. You’ve got the right heavy-duty thread, you’ve picked a needle that won’t snap under pressure, and you’ve mastered the darning technique to reinforce the weak spots. Whether you’re using a visible patch to add character or a subtle darn to blend in, the goal is the same: stop the tear from spreading and get back to your life. It’s a simple process, but when you do it right, you’re investing in durability rather than just putting a bandage on a problem.
We live in a world that wants us to believe everything is disposable, but I’ve always found more satisfaction in things that endure. Taking twenty minutes to fix a pair of well-worn denim is a small way to reclaim control over your gear and your wallet. Don’t let a little hole dictate when a good piece of clothing is finished. Grab your kit, sit down, and build something that lasts. There is a real, quiet pride in wearing something that has been repaired by hand.
