
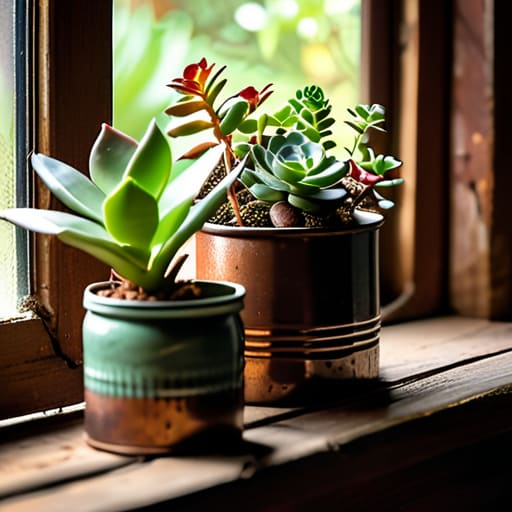
I was standing in the middle of my backyard last spring, staring at a pile of cracked, plastic containers I’d bought from a big-box retailer, wondering why they were already falling apart after just three months. It’s the same old story: you spend money on something that looks decent on a shelf, but the moment it meets actual soil and moisture, it fails. Most people think you need a massive budget or a degree in landscaping to get decent results, but the truth is that most store-bought options are just disposable junk masquerading as decor. If you want something that actually holds up, you need to stop buying and start building diy planters that are engineered to last.
In this guide, I’m skipping the Pinterest-perfect fluff and getting straight to the mechanics of what works. I’ll show you how to select materials that won’t rot by mid-July and how to assemble them using basic tools you likely already have in your garage. We aren’t chasing aesthetic trends here; we are focusing on structural integrity and drainage. By the time we’re done, you’ll have a few solid designs under your belt that can handle real dirt and real weather without breaking a sweat.
Guide Overview
Tools & Supplies
- Drill and drill bits for drainage holes
- Measuring tape for sizing materials
- Scissors or utility knife for cutting
- Recycled containers (plastic, tin, or wooden) 2-4 units
- Potting soil 1 bag
- Small pebbles or gravel 1 small bag
- Plants or seeds 3-5 units
Step-by-Step Instructions
- 1. First, you need to pick your vessel, and I’m not talking about those flimsy plastic bins you see at the big-box stores. If you’re going the reclaimed route, look for old cedar buckets, galvanized steel troughs, or even heavy-duty wooden crates. The key is to ensure the material is structurally sound enough to hold the weight of wet soil without warping or cracking under pressure.
- 2. Once you have your container, you have to address the drainage situation immediately. Most people skip this and then wonder why their plants are rotting from the bottom up. Take a drill with a bit large enough to create substantial holes—at least half an inch wide—and space them out across the bottom. If you’re working with a metal container, make sure you aren’t drilling near any structural seams that might compromise the integrity of the unit.
- 3. Before you add a single ounce of dirt, lay down a thin layer of coarse material at the bottom of the planter. I usually go with small river stones or even broken bits of terracotta shards. This creates a buffer zone that allows excess water to flow freely toward your drainage holes rather than pooling in the soil and suffocating the roots.
- 4. Now, let’s talk about the medium. Don’t just grab the cheapest bag of “dirt” on the shelf; that stuff is usually just compressed peat that turns into a brick once it dries out. You want a high-quality potting mix that includes perlite or vermiculite for aeration. A good mix should feel light and crumbly in your hands, not heavy and clumpy like backyard clay.
- 5. When you start filling the planter, don’t just dump the soil in and call it a day. Add it in layers, about three or four inches at a time, and press down firmly but not aggressively with your hands. You want to eliminate large air pockets that can cause the soil to settle unevenly later, but you don’t want to pack it so tight that the roots can’t breathe.
- 6. Leave about an inch of “headspace” between the top of the soil and the rim of your planter. This isn’t just for aesthetics; it’s a functional necessity. That gap prevents water from spilling over the sides every time you irrigate, which keeps your patio or deck from becoming a muddy mess every time you water the garden.
- 7. Finally, give your new setup a deep, slow soak. This isn’t just to hydrate the plant; it’s to ensure the entire soil column is fully saturated from top to bottom. If the water just runs straight through the top without making the soil feel heavy, you’ve got air pockets again, and you’ll need to go back and work the soil a bit more before you settle in for the season.
Upcycled Container Gardening Without the Fluff
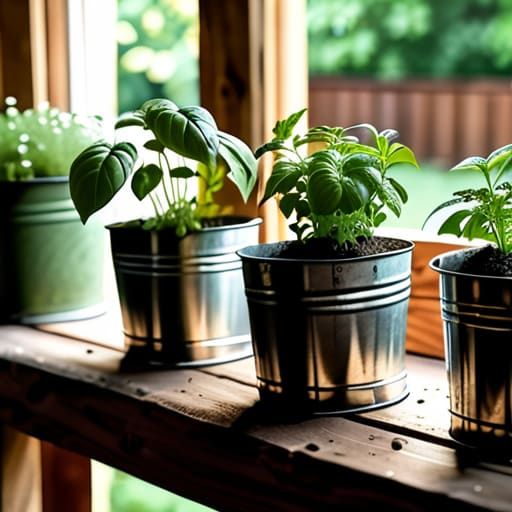
Look, you don’t need to head to a big-box garden center and drop fifty bucks on a ceramic pot just to grow some basil. Most of the time, the best materials are already sitting in your garage or pantry. I’m a big believer in upcycled container gardening because it’s practical and keeps junk out of the landfill. An old wooden crate, a sturdy metal bucket, or even some heavy-duty food tins can work perfectly if you treat them right. The trick isn’t making them look “Pinterest-perfect”; it’s making sure they actually function.
The biggest mistake I see with people using repurposed household items for plants is forgetting about the physics of it. If you’re using a plastic bin or a metal container, you must address the bottom. Without proper drainage solutions for homemade pots, you’re essentially just building a bathtub for your roots, and they’ll rot within a week. Grab your drill, make a few clean holes, and ensure there’s a way for excess water to escape. If it doesn’t drain, it isn’t a planter—it’s a death trap.
Reliable Drainage Solutions for Homemade Pots
Look, I’ve seen too many people kill a perfectly good plant because they focused on the look of the container rather than the physics of the water. If you’re building your own setup, you can’t just ignore the bottom. Without proper drainage solutions for homemade pots, you aren’t growing a garden; you’re just managing a swamp. If you’re working with wooden crates or repurposed household items for plants, you need to ensure there’s a clear exit path for excess moisture. A few drilled holes might seem like enough, but I usually recommend adding a layer of coarse gravel or even broken terracotta shards at the base to prevent the soil from compacting and choking off that airflow.
If you’re setting up an indoor herb garden diy, you have an extra hurdle: you can’t just let muddy water leak all over your hardwood floors. In these cases, I rely on a double-potting method. Use your custom-built vessel as a decorative outer shell and keep the actual plant in a standard nursery liner inside it. It’s a simple, functional workaround that keeps the aesthetics of your rustic planter designs intact while protecting your living space. It’s not fancy, but it’s what keeps the roots breathing.
Three Rules to Keep Your Projects from Becoming Junk
- Don’t skimp on the material integrity. If you’re building with wood, skip the cheap, untreated pine that’s going to rot the second it hits a heavy rain; use cedar or redwood if you want a planter that actually survives more than one summer.
- Scale for the weight, not just the look. A large planter filled with wet soil is incredibly heavy, so if you’re building something substantial, make sure your base is wide and stable enough that it won’t tip over when the wind picks up or you’re moving it.
- Plan for the maintenance lifecycle. Before you drive the last nail, ask yourself how you’re going to clean it or replace the liner in two years; if the design makes it impossible to access the soil without breaking the whole thing, you’ve built a headache, not a tool.
The Bottom Line
Don’t get distracted by how a planter looks on a Pinterest board; if the material can’t handle moisture or the drainage is an afterthought, you’re just building a future headache.
Stick to the basics—sturdy materials, proper holes, and a design that actually fits your space—and you’ll spend more time growing things and less time replacing broken pots.
Building Something That Lasts
At the end of the day, making your own planters isn’t about chasing some Pinterest-perfect aesthetic or buying a dozen expensive kits. It’s about understanding the mechanics of what you’re building. We’ve covered how to source sturdy, upcycled materials that won’t rot in a month and, more importantly, how to ensure your drainage systems actually work so you don’t end up drowning your plants. If you focus on the structural integrity and the way water moves through the soil, you aren’t just making a container; you’re building a functional ecosystem that can handle the real world.
Don’t get discouraged if your first attempt looks a little rough around the edges. Systems engineering taught me that the first prototype is rarely the final product; it’s just a way to find out where the friction is. Grab your tools, stop overthinking the design, and just start building. There is a unique kind of satisfaction that comes from looking at a patch of green and knowing you provided the foundation yourself. Let’s focus on making things that actually work.
