
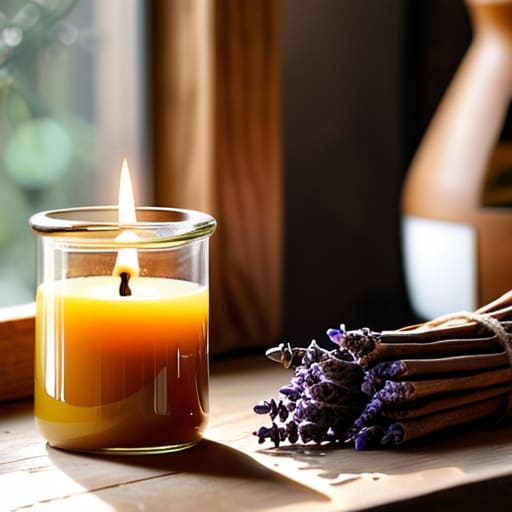
I spent three weeks last autumn thinking I could turn a hobby into a side hustle by following a dozen different “aesthetic” tutorials, only to end up with a kitchen full of soot and a batch of candles that smelled more like burnt plastic than sandalwood. Most people will tell you that learning how to make candles is all about picking the prettiest jars or the most expensive essential oils, but they’re selling you a fantasy. The reality is much more grounded in basic chemistry and temperature control; if you don’t respect the melt point and the wick ratio, you aren’t making a product, you’re just making a mess.
I’m not here to help you curate a Pinterest board. My goal is to show you how to build a reliable, repeatable process that yields a clean burn every single time. We’re going to strip away the decorative fluff and focus on the functional mechanics—from selecting the right wax types to mastering the pour. By the end of this, you’ll have a setup that actually works, producing candles that look good and, more importantly, perform exactly as intended.
Guide Overview
Tools & Supplies
- Double boiler or heat-proof bowl and pot for melting wax
- Thermometer to monitor wax temperature
- Pouring pitcher for controlled pouring
- Wick centering tool or clothespin to hold wicks in place
- Soy or paraffin wax (1-2 lbs)
- Candle wicks (set of 5-10)
- Fragrance oils (1 oz)
- Candle jars or tins (3-5 units)
Step-by-Step Instructions
- 1. First, stop looking at those pre-made “starter kits” on Amazon. They’re usually just a way to sell you low-grade paraffin and cheap wicks that drown the moment you light them. Instead, go out and source your actual components: a high-quality soy or beeswax blend, heavy-duty cotton wicks, and decent-smelling essential oils or fragrance oils. If the raw materials are junk, the end product will be junk, no matter how much you tinker with it.
- 2. Set up your workspace with a focus on safety and efficiency. You’re dealing with molten wax, so clear off a stable surface and grab a dedicated thermometer—don’t guess the temperature by looking at it. I like to use a double boiler setup; if you don’t have one, just put a heat-safe glass bowl over a pot of simmering water. It’s a low-tech but reliable way to prevent the wax from overheating or catching fire.
- 3. Once your wax is melting, keep a close eye on that thermometer. You aren’t just heating it up; you’re managing its thermal properties. Most soy waxes need to hit a specific temperature before you add fragrance to ensure the oil actually binds with the wax rather than just sitting on top. If you add the scent too early or too late, you’ll end up with “sweating” candles that look like a mess.
- 4. While the wax is heating, prep your containers. Clean them out thoroughly with isopropyl alcohol to remove any dust or oils. Take your wicks and secure them to the center of the container using a small dab of hot glue or a wick sticker. I always use a weighted centering tool—or even just a clothespin—to keep the wick from leaning. A crooked wick is the fastest way to get an uneven burn that tunnels straight down.
- 5. Now comes the pour. This is where most people rush, but patience is your best tool here. Slowly pour the wax into your containers to minimize air bubbles. You want to aim for a specific temperature for the pour to ensure the surface sets smoothly and flat. If you pour it while it’s too hot, the center might sink or crack as it cools.
- 6. Let them sit. This is the hardest part for people who want instant gratification, but you need to leave those candles undisturbed in a room with a steady temperature. Don’t put them in the fridge to “speed things up”; that’s a recipe for structural failure. Let them cure for at least 24 to 48 hours so the molecular structure stabilizes.
- 7. Finally, trim the wicks. Don’t just light them and hope for the best. Use a pair of sharp scissors to trim the wick to about a quarter-inch. If the wick is too long, you’ll get a massive, smoky flame that’s impossible to control; if it’s too short, it’ll drown. It’s all about finding that sweet spot where the burn is clean, steady, and functional.
Selecting Reliable Soy Wax Candle Making Supplies
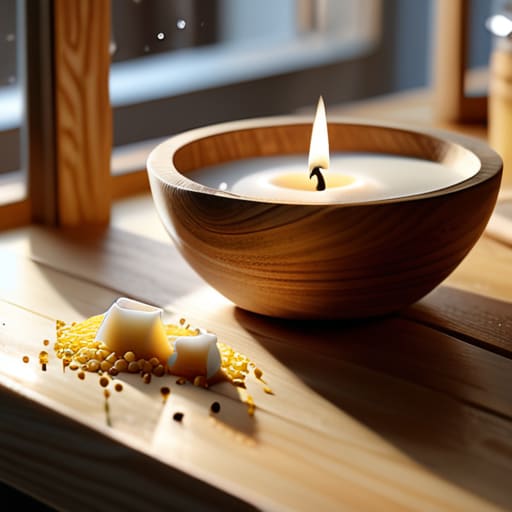
When you start looking into soy wax candle making supplies, you’re going to be flooded with marketing fluff about “eco-friendly luxury” and “artisanal blends.” Ignore most of it. From a systems perspective, you aren’t looking for a lifestyle; you’re looking for consistency. If you’re just starting out with candle making for beginners, don’t get distracted by colorful containers or expensive jars. Focus your budget on the raw materials that dictate the burn. A cheap wax might look great in a photo, but if the melt point is off, you’re going to end up with a tunneled mess that wastes half your product.
I also suggest you treat your scent selection like any other mechanical component. If you’re using essential oils for scented candles, understand that they behave differently under heat than synthetic fragrances. They can be finicky, sometimes even throwing off the scent entirely if you don’t hit the right thermal window. My advice? Test your batches in small increments. It’s better to waste a few ounces of wax during a trial run than to commit an entire batch to a scent profile that disappears the moment you light the wick.
Choosing the Best Wick Types for Candles
If you’ve spent any time looking at candle making for beginners tutorials online, you’ve probably been overwhelmed by the sheer number of wick options. Don’t let the marketing fool you; a wick isn’t just a piece of string. It’s the engine of your candle. If the wick is too small, you get “tunneling,” where the wax burns down the center leaving a ring of wasted fuel on the sides. If it’s too large, you’ll get a flame that’s erratic and produces so much soot you’ll ruin your glassware.
When you’re testing your setup, you need to find the sweet spot between the diameter of your container and the specific density of your wax. Since we’re sticking to reliable soy wax candle making supplies, keep in mind that soy is a finicky beast—it’s denser than paraffin and requires a more robust draw to stay lit. I always recommend starting with cotton core wicks for your first few batches; they are predictable, easy to center, and don’t require a degree in chemistry to get a clean, steady burn. Once you understand how your specific wax reacts, then you can start experimenting with more specialized options.
Three Rules to Keep Your Project from Becoming a Mess
- Watch your temperature like a hawk. Most people think you just melt the wax and dump everything in, but if you add your fragrance oil when the wax is too hot, you’re going to burn off the scent profile before the candle even sets. Aim for that sweet spot—usually around 185°F—to ensure the oil actually bonds with the wax instead of just sitting on top.
- Stop obsessing over the container aesthetics and focus on the “melt pool.” If your container is too narrow or your wick is too small, you’ll end up with tunneling, where the candle burns a hole straight down the middle and leaves a mountain of wasted wax on the sides. You want a full, even pool of liquid wax that reaches the edges every single time.
- Give your candles time to actually cure. I know it’s tempting to light one up the second it hardens to see if you nailed the scent, but soy wax is temperamental. It needs a few days—sometimes up to two weeks—for the molecular structure to stabilize. If you rush it, the scent throw will be weak and the burn will be inconsistent. Patience is a tool, too.
The Bottom Line on Building a Reliable Batch
Stop chasing the prettiest packaging and focus on the chemistry; a candle is only as good as the synergy between your wax melt point and your wick size.
Treat your first few pours like a systems test—document the burn times and scent throw so you can troubleshoot the variables rather than just guessing why they failed.
Beyond the First Pour
At the end of the day, candle making isn’t about mastering a complex art form; it’s about understanding the mechanics of how heat, wax, and wick interact. We’ve covered the essentials—getting your hands on a reliable soy wax, selecting a wick that won’t drown or sputter, and setting up a workspace that actually functions. If you get those fundamental components right, you’ve already bypassed the most common failures that plague most beginners. Don’t get distracted by the colorful additives or the “magic” scents promised in glossy advertisements. Focus on the core chemistry of your burn, and the rest will eventually fall into place through simple trial and error.
Making something with your own hands provides a type of satisfaction that a store-bought luxury item just can’t replicate. There will be some wasted batches and some messy cleanup, but that’s just part of the process. The goal isn’t perfection on your first try; it’s about building a reliable system that works every time you light the flame. Keep your tools clean, stay patient with the cooling times, and just keep iterating. You’ve got this.
