
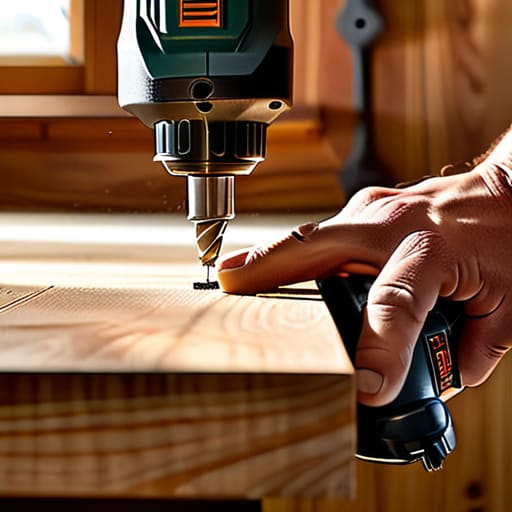
I spent three hours last weekend staring at a pile of sawdust and a bent bracket, wondering why I’d ever trusted a “quick-fix” tutorial from a lifestyle influencer. Most people think learning how to install a shelf is just about holding a level and driving a screw, but they’re missing the most important part: understanding the structure behind your drywall. If you just slap some hardware into a hollow wall because the box said it was “easy,” you aren’t building storage; you’re building a future headache that’s eventually going to come crashing down on your head.
I’m not here to sell you on some overpriced, decorative mounting kit that looks pretty but lacks any real structural integrity. Instead, I’m going to show you the pragmatic way to do this—the way that relies on solid physics and the right anchors, not luck. We’re going to skip the fluff and focus on the actual mechanics of finding studs, choosing the right hardware, and ensuring that once that shelf is up, it actually stays put regardless of what you stack on it.
Guide Overview
Tools & Supplies
- Drill/Driver for making holes and driving screws
- Level to ensure the shelf is straight
- Pencil for marking placement
- Measuring tape for accurate spacing
- Hammer for driving anchors
- Shelf and brackets 1 set
- Wall anchors 1 pack
- Screws 1 pack
Step-by-Step Instructions
- 1. First, stop and look at what you’re actually planning to put on this shelf. If it’s just a single succulent, you can get away with almost anything, but if you’re planning on stacking heavy hardcover books, you need to treat this like a structural project. Grab a piece of cardboard or some painter’s tape to mark out the dimensions on the wall first; it’s much easier to move a piece of tape than it is to patch a dozen wrong holes in your drywall.
- 2. Get your tools out and do a quick inventory. You’re going to need a drill, a level (don’t even try to “eyeball” it), a stud finder, and a pencil. I always keep my multi-tool handy for this part because sometimes you need to tweak a screw head or scrape away a bit of debris without hunting through a massive toolbox. If you don’t have a level, download a decent app on your phone, but a physical bubble level is still the gold standard for accuracy.
- 3. Now, find the studs. This is where most DIY projects fail—people rely on those flimsy plastic anchors that come in the box, and then six months later, the whole thing comes crashing down. Use your stud finder to locate the wooden framing behind the drywall. If you can hit at least one stud, you’re already halfway to a shelf that actually lasts. If you can’t hit a stud where you want the shelf, that’s when you pull out the heavy-duty toggle bolts.
- 4. Mark your holes with precision. Once you’ve located the studs or decided where your anchors will go, hold your bracket up to the wall and use your level to ensure it’s perfectly straight. Trace the screw holes with your pencil. Measure twice, drill once—it’s a cliché for a reason, and I’ve seen too many people rush this step only to end up with a crooked mess that drives them crazy every time they look at it.
- 5. Drill your pilot holes. Don’t just jam a screw into the wall; you’ll crack the drywall or strip the screw head. Use a drill bit that is slightly smaller than the diameter of your screw. If you’re hitting a stud, you’re drilling into solid wood. If you’re using anchors, drill the hole to the specific size indicated on the anchor packaging. If the hole is too big, the anchor will spin; if it’s too small, it’ll crack.
- 6. Mount the brackets and secure the shelf. Drive your screws through the brackets and into the wall. I like to do this in stages—tighten them just enough to hold the bracket in place, check the level one last time, and then give them a final, firm tighten. Once the brackets are rock solid, lay your shelf on top and secure it from underneath using the small wood screws provided with the shelf kit.
- 7. The stress test. Before you go out and buy all that decor, put something heavy on the shelf for a few minutes. I usually grab a stack of books or a heavy toolbox to see if there’s any bowing or movement. If it stays put, you’ve done your job. If it wobbles, don’t ignore it—fix the mounting immediately before you add the lightweight stuff that masks the problem.
Mastering Wall Stud Finder Usage and Mounting Hardware Guide
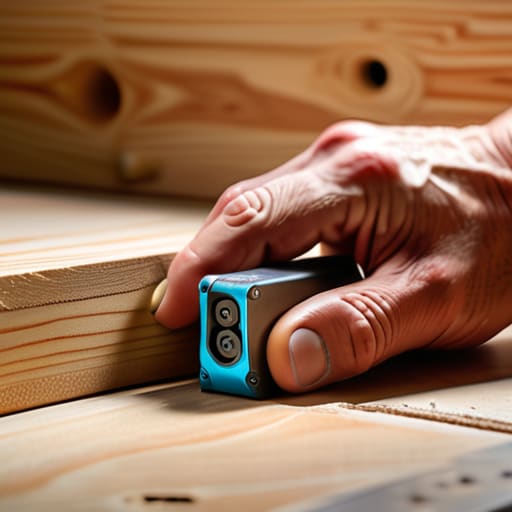
Look, you can have the most expensive timber in the world, but if you’re just relying on friction and luck, that shelf is coming down. Most people treat a stud finder like a magic wand, but proper wall stud finder usage requires a bit of intuition. Don’t just trust the first beep you hear; move the device slowly and verify the edges of the stud to ensure you aren’t hitting the very periphery of the wood. If you miss the stud, don’t panic—just make sure you’re using heavy duty shelf anchors rated for the specific weight you’re planning to stack on there.
When it comes to the actual connection, your choice of mounting hardware guide essentials matters more than the aesthetics. If you’re using decorative brackets, you’ve got more surface area to work with, but if you’re going for that clean, modern look, you’ll be drilling into drywall more often. Just remember: a floating shelf is only as stable as the internal support. If you aren’t hitting wood, invest in high-quality toggle bolts rather than the cheap plastic sleeves that come in the box. They might cost an extra few bucks, but they’ll save you from a midnight cleanup.
Choosing Shelf Bracket Types and Heavy Duty Shelf Anchors
Look, once you’ve found your studs, you need to decide what’s actually holding the weight. Most people grab the first set of L-brackets they see at the big-box store, but you need to match your shelf bracket types to what you’re actually planning to put on there. If you’re just displaying a few lightweight paperbacks, standard steel brackets are fine. But if you’re planning on loading up a pantry with heavy glass jars or a collection of hardcovers, don’t skimp. I always recommend looking for brackets with a wider footprint; they distribute the load better and prevent that annoying downward tilt over time.
If you aren’t hitting a stud—and let’s be honest, sometimes the layout just doesn’t cooperate—don’t even think about just using those cheap plastic plugs that come in the box. They’re a recipe for a midnight disaster. Instead, invest in some proper heavy duty shelf anchors, like toggle bolts. They grip the back of the drywall and provide the mechanical advantage you need to keep things from pulling straight out of the wall. It’s a small upfront cost that saves you from the headache of patching holes and replacing broken gear later.
Three Things That’ll Save You a Trip Back to the Hardware Store
- Double-check your level, then check it again. I’ve seen plenty of people get the mounting perfect only to realize their “straight” shelf is actually a slow-motion slide toward the floor. Don’t trust your eyes; trust the bubble.
- Don’t eyeball the weight capacity. If you’re planning on stacking heavy cookbooks or a collection of ceramic mugs, stop looking at the aesthetic of the bracket and start looking at the load rating on the box. Overloading a shelf isn’t a matter of “if” it fails, but “when.”
- Clear the workspace before you start drilling. It sounds simple, but trying to manage a pile of sawdust, loose screws, and your drill while balancing on a step stool is a recipe for a stripped screw or a bruised shin. Get your tools laid out in a way that makes sense first.
The Bottom Line
Don’t let a cheap stud finder or a handful of plastic anchors be the reason your weekend project ends in a pile of broken ceramics; if you aren’t hitting a stud, use heavy-duty anchors that are actually rated for the weight you’re planning to carry.
Prioritize function over aesthetics every single time—a shelf that looks “minimalist” but sags under a few books is just a failed piece of engineering.
Getting It Done Right
At the end of the day, installing a shelf isn’t about the aesthetic; it’s about the structural integrity. If you’ve done the work—found those studs, picked the right anchors, and used a level instead of just “eyeballing it”—you’ve already won half the battle. Don’t let the temptation to skip the prep work fool you; cutting corners on the hardware is the fastest way to end up with a pile of broken ceramics on your floor. Focus on the foundation of the installation, and the rest of the project will take care of itself.
There is a specific kind of satisfaction that comes from looking at a finished project and knowing it isn’t going anywhere. It’s not about chasing some Pinterest-perfect trend; it’s about the quiet confidence of knowing your space is built to last. Once that shelf is secure, stop worrying about whether it’s perfect and start using it. You’ve done the heavy lifting, so now go out there and build a home that actually functions the way you need it to.
