
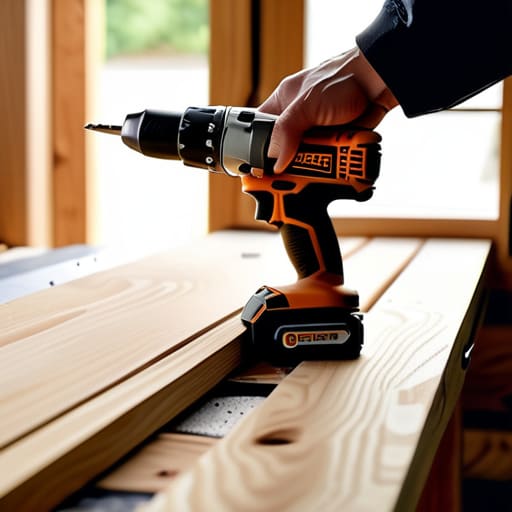
I remember standing in my first garage, staring at a wobbly folding table that felt like it was going to collapse the second I put a heavy vise on it. I’d spent hours scrolling through those polished “DIY” videos online, thinking I needed a massive, expensive shop setup to actually get anything done. The truth is, most of those tutorials are just noise; learning how to build a workbench isn’t about buying the most expensive hardwoods or owning every specialized jig on the market. It’s about stability and surface area.
In this guide, I’m stripping away the fluff to show you how to construct a workspace that actually holds up under pressure. We aren’t going for aesthetic perfection here; we are building a tool. I’ll walk you through selecting materials that won’t warp, a design that won’t shake, and a workflow that makes sense for a real-world shop. Let’s get to work on something that actually stays fixed when you start putting it to use.
Guide Overview
Tools & Supplies
- Circular saw or miter saw for cutting lumber
- Power drill for driving screws
- Tape measure for accurate dimensions
- Speed square for ensuring straight lines
- 2×4 lumber (approx. 6-8 boards)
- 3/4 inch plywood (1 sheet)
- Wood screws (2.5 inch and 1.5 inch)
- Wood glue for extra stability
Step-by-Step Instructions
- 1. Start by sketching out your footprint. Don’t get bogged down in architectural software; just grab a pencil and some scrap wood to map out the dimensions. You want a surface that is deep enough to hold your project, but not so wide that you’re stretching yourself thin just to reach a clamp. I usually aim for a height that lets me work without hunching, which for me is right around elbow level.
- 2. Source your lumber with a focus on density over aesthetics. You aren’t building a coffee table for a showroom; you’re building a platform for impact. I recommend heavy construction-grade plywood for the top and thick 4×4 posts for the legs. If the wood is bowed or twisted, don’t try to force it to be straight—just toss it back and find something that actually holds a line.
- 3. Build the frame using a simple apron design. This means attaching horizontal rails between your legs to create a rigid skeleton. I prefer using heavy-duty lag bolts here rather than just driving screws through the face. It’s about mechanical advantage—you want a frame that won’t rack or wobble the second you start sawing or hammering on top of it.
- 4. Secure the top to the frame, but give yourself a little breathing room. Wood moves; it expands and contracts with the humidity in your garage. Instead of gluing the entire surface down, use oversized holes or specialized fasteners that allow for slight movement. If you glue it solid, the wood will eventually fight itself and start to warp or crack.
- 5. Add a lower shelf for your heavy stuff. This isn’t just for extra storage; it’s a structural necessity. A heavy shelf loaded with your power tool cases and bins acts as a stabilizing weight that lowers the center of gravity for the whole unit. It keeps the bench from feeling “top-heavy” when you’re working on something delicate.
- 6. Finish the edges to save your skin. There is nothing more annoying than catching your forearm on a sharp, splintery plywood edge halfway through a task. Take a sanding block and run it along every exposed corner until they feel smooth to the touch. It’s a small step, but it’s the difference between a professional setup and a pile of junk.
- 7. Finally, bolt your vise to the corner. Don’t wait until the bench is finished to realize you have nowhere to mount it. Position it over a structural part of the frame so that when you tighten it down, you aren’t just crushing a thin sheet of plywood. A workbench without a vise is just a very expensive table; with one, it’s a tool.
Selecting a Sturdy Workbench Materials List for Real Work
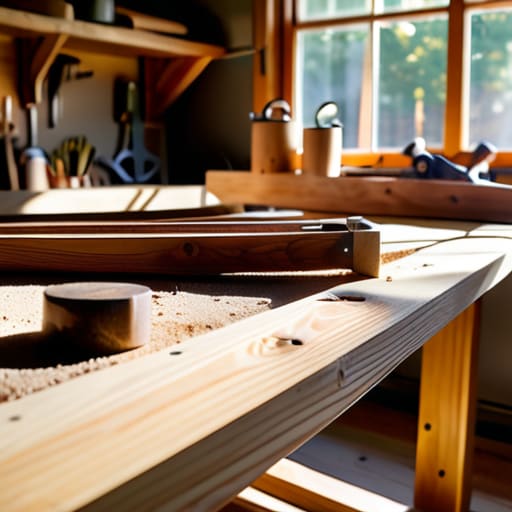
When you’re putting together your sturdy workbench materials list, don’t get distracted by the high-end hardwoods you see in showroom catalogs. Unless you’re building a museum piece, you don’t need mahogany or cherry. For a functional shop, I always lean toward construction-grade lumber—think Douglas fir or even thick Southern Yellow Pine. It’s inexpensive, readily available, and most importantly, it has the mass you need. A workbench that lacks weight is just a glorified table that’ll slide across the floor the second you try to plane a board or saw through a heavy piece of oak.
I’ve seen plenty of people dive into complex heavy duty workbench design only to realize they bought undersized fasteners or flimsy plywood for the top. If you want something that lasts, aim for a thick, laminated top. You can achieve this by gluing up several layers of plywood or even standard 2x4s. It might take a little more time during the assembly, but once that top is leveled and secured, it becomes the bedrock of your entire shop. Focus on density and stability over aesthetics; your tools will thank you.
Heavy Duty Workbench Design That Defies the Trends
Look, you can find endless woodworking workbench plans online that look great in a filtered Instagram photo, but most of them are built for aesthetics rather than actual labor. If you’re planning a heavy duty workbench design, you need to prioritize mass over style. A bench that’s too light will dance across the floor the second you try to plane a piece of oak or run a jigsaw. I always tell people to focus on the joinery and the weight; if it doesn’t feel like it’s rooted to the earth, it’s not doing its job.
Don’t get distracted by complex, over-engineered features that you’ll never use. Instead, think about how the design supports your movement. A slightly oversized work surface is better than a compact one that leaves you fighting for elbow room. Integrating simple garage workshop organization ideas, like a built-in tool well or a dedicated spot for your most-used clamps, will do more for your productivity than any expensive, trendy gadget. Keep it simple, keep it heavy, and make sure it’s built to last a lifetime.
Three Things Most People Get Wrong Before They Start Sawing
- Stop obsessing over the “perfect” height. If you’re doing fine detail work, you want it higher; if you’re using heavy power tools or a vise, you need it lower to leverage your body weight. Measure your elbow height first—that’s your baseline, not some arbitrary number from a manual.
- Don’t skimp on the fasteners. I’ve seen too many guys build a massive frame only to have the whole thing rack and wobble because they used cheap, thin drywall screws. Use heavy-duty construction screws or even lag bolts for the main joints. If the frame isn’t rigid, the bench is just a glorified table.
- Plan for your footprint, not just your tools. A workbench isn’t just a surface; it’s a hub. Before you commit to a design, think about where your heavy clamps will live and whether you’ll need an outlet within reach. A bench that’s hard to move or impossible to plug things into will eventually just become an expensive shelf for clutter.
The Bottom Line
Stop chasing aesthetics. A workbench isn’t a piece of furniture; it’s a tool. If it isn’t heavy enough to stay put when you’re sawing or sturdy enough to hold a heavy vise without bowing, you’ve wasted your time and your money.
Build for the work you actually do, not the work you think you’ll do someday. Over-engineering a massive station for a hobby you haven’t started yet is just clutter. Get the dimensions right for your current tools and your height, and build it to last.
Get to Work
At the end of the day, building a workbench isn’t about following a complex blueprint or buying the most expensive lumber on the market. It’s about choosing materials that won’t warp under pressure and designing a layout that actually serves your specific workflow. We’ve covered the essentials: selecting heavy-duty components, prioritizing stability over aesthetics, and ensuring your workspace is organized from the ground up. If you stick to these fundamentals, you won’t just have a piece of furniture; you’ll have a reliable foundation that stays steady no matter what kind of project you throw at it.
Don’t get caught up in the paralysis of perfectionism. You don’t need a showroom-ready masterpiece to start making progress on your projects. The goal here is utility, not a social media photo op. Once that bench is assembled and the dust settles, the real work begins. Stop overthinking the details and just start building something real. A solid workspace is the first step toward a more efficient life, so grab your tools and get it done.
